

There are a couple of ways you can schedule jobs within WorkPal depending on how you prefer to work.
In this guide we will cover:
Adding an existing job to the schedule
Creating and scheduling a job directly from the Scheduling tab
Scheduling an existing job from the schedule.
Choose the method that works best for your workflow.
Adding an existing job to the schedule.
Step 1: Access Jobs
Click the Jobs tab to view your job list.

Step 2: Select Job
Double click the job you want to edit for more details.
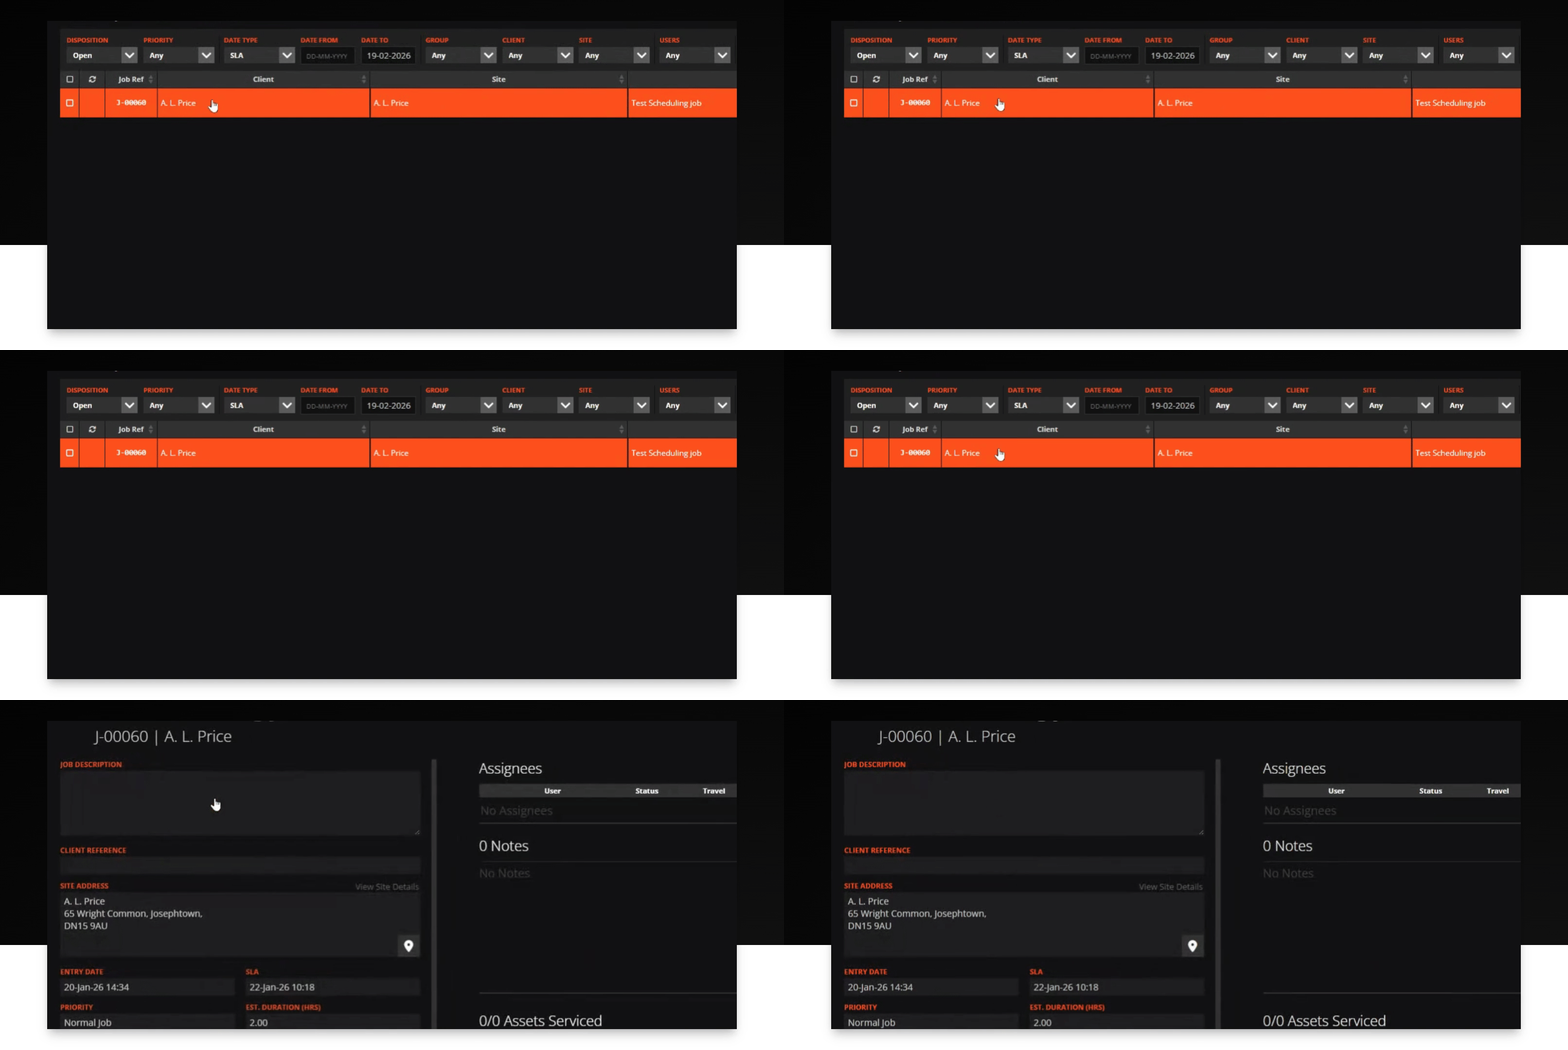
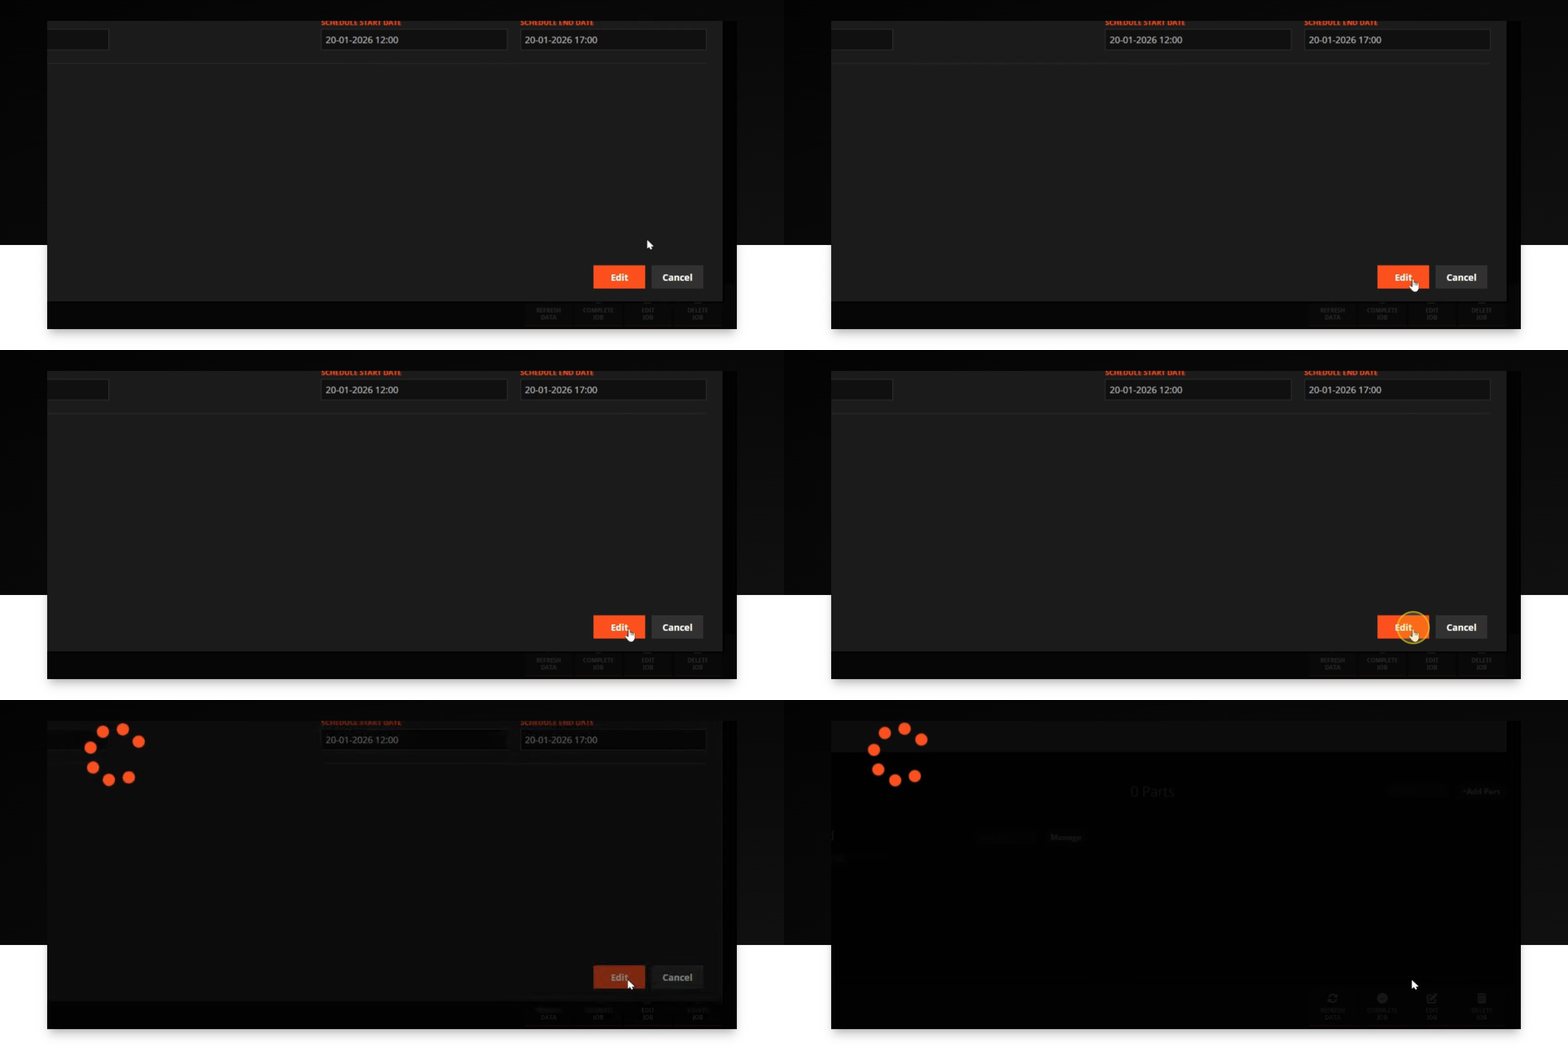
Step 3: Edit Job
Click the Edit Job button to make changes.
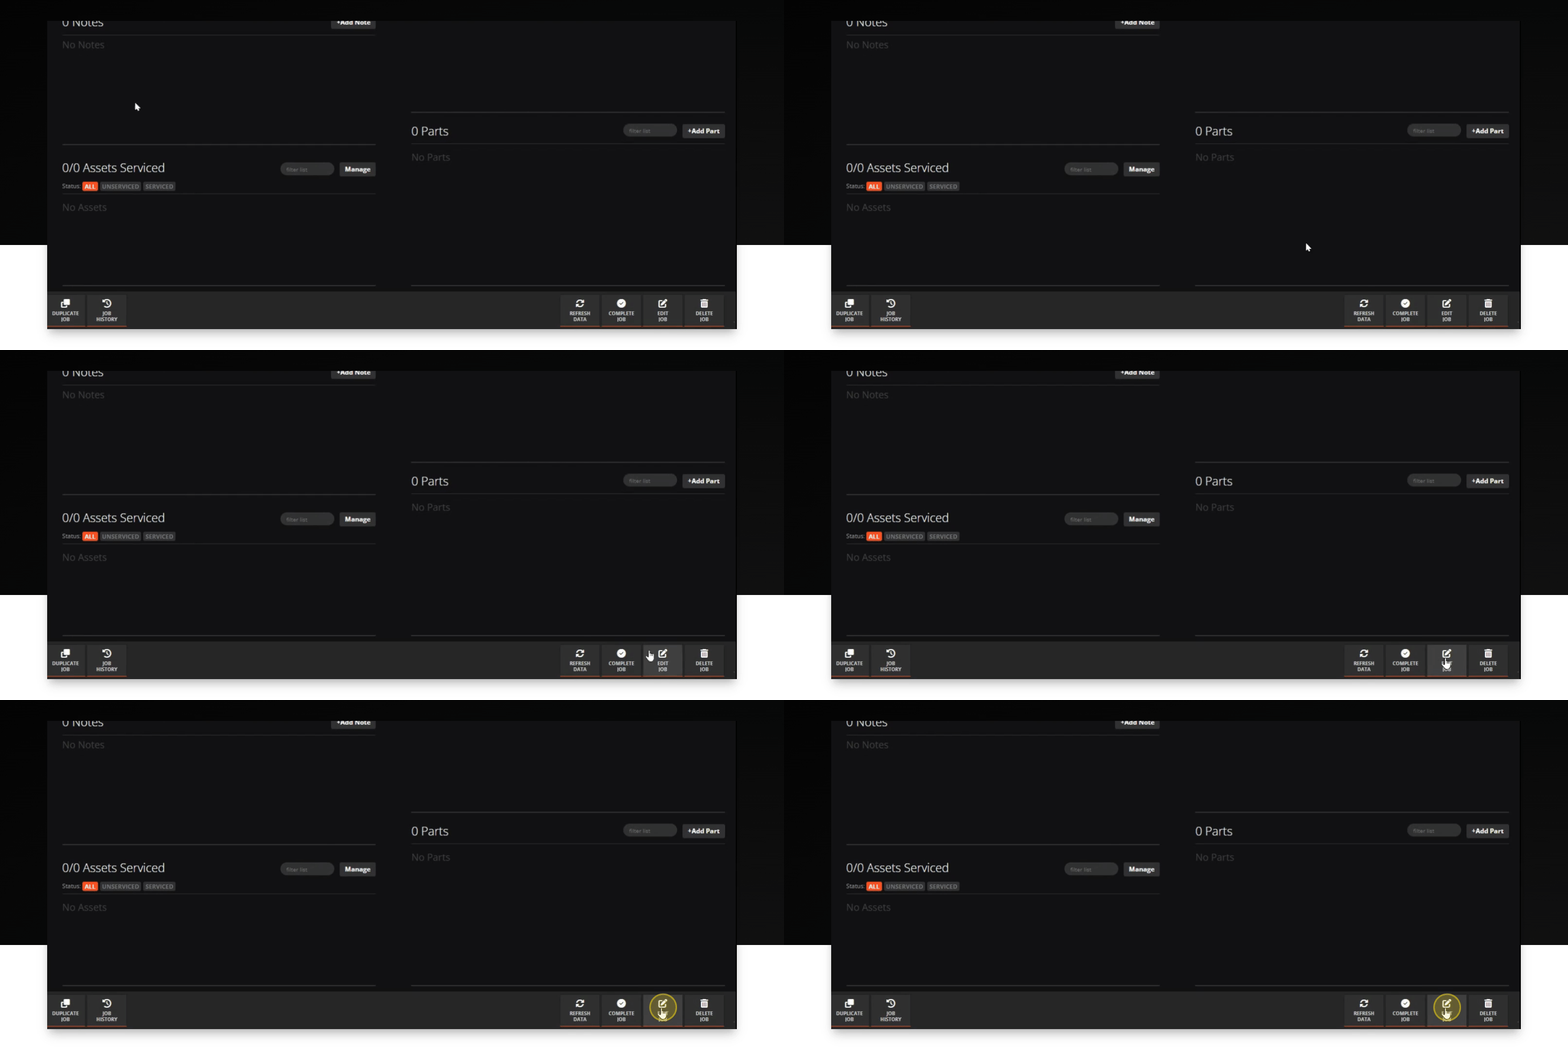
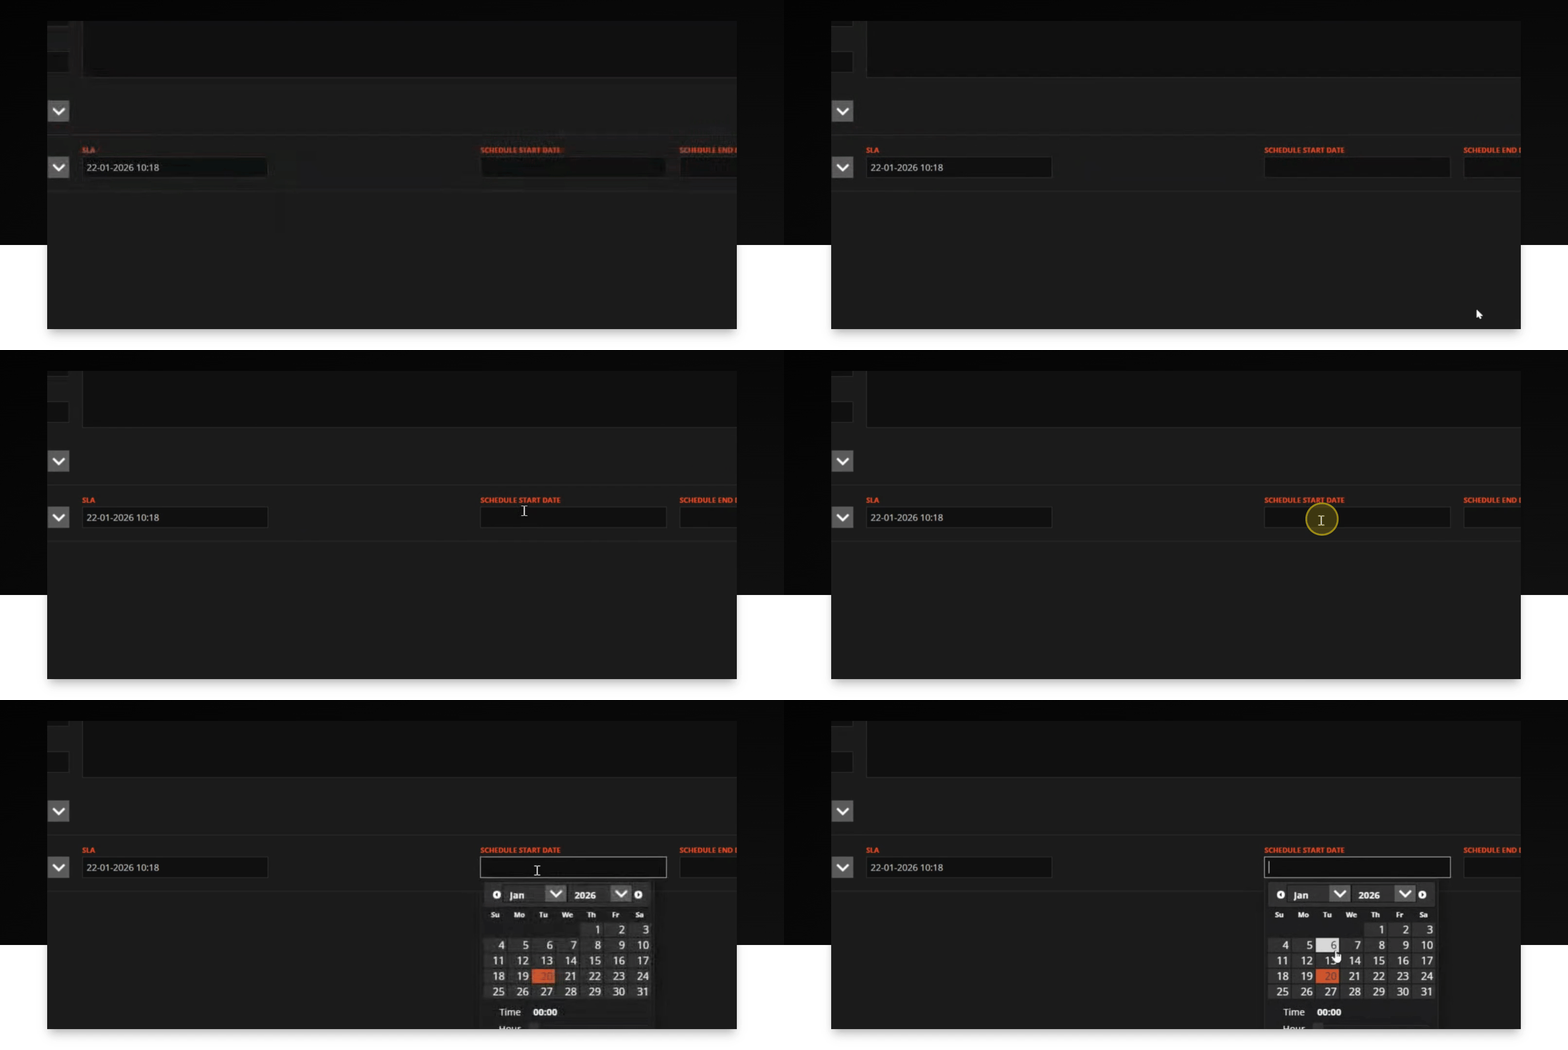
Step 4: Set Start Date
Select the schedule start date for the job.
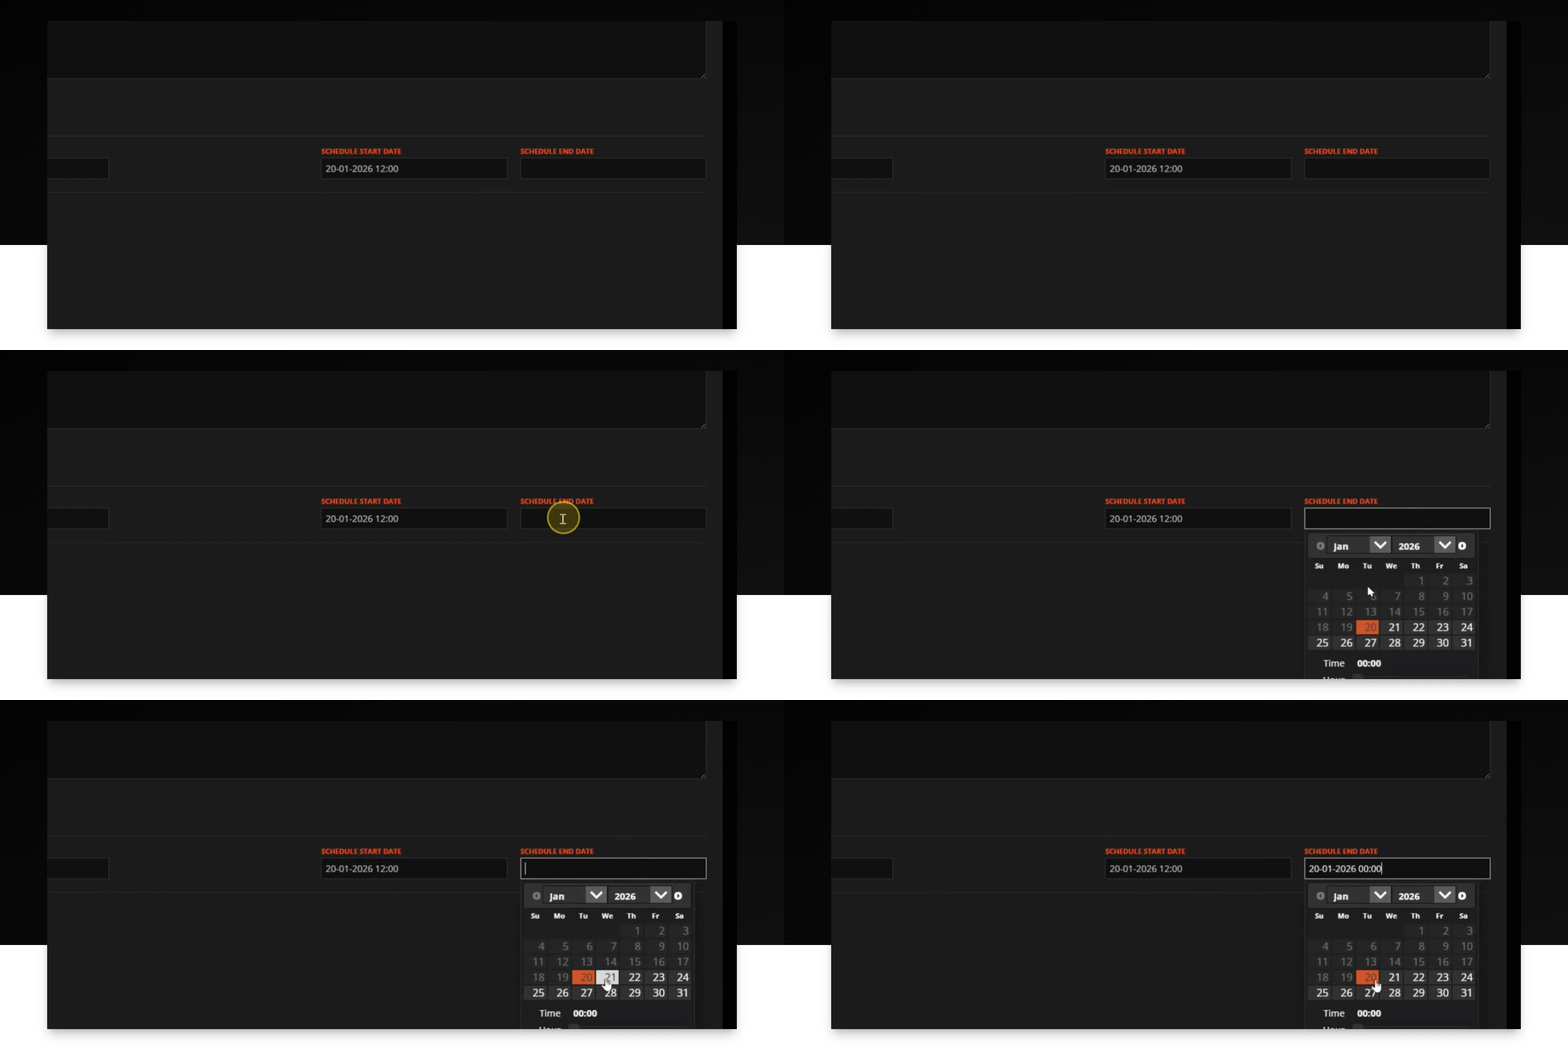
Step 5: Set End Date
Select the scheduled end date for the job.
Step 6: Save Changes
Click the Edit button to save your changes.
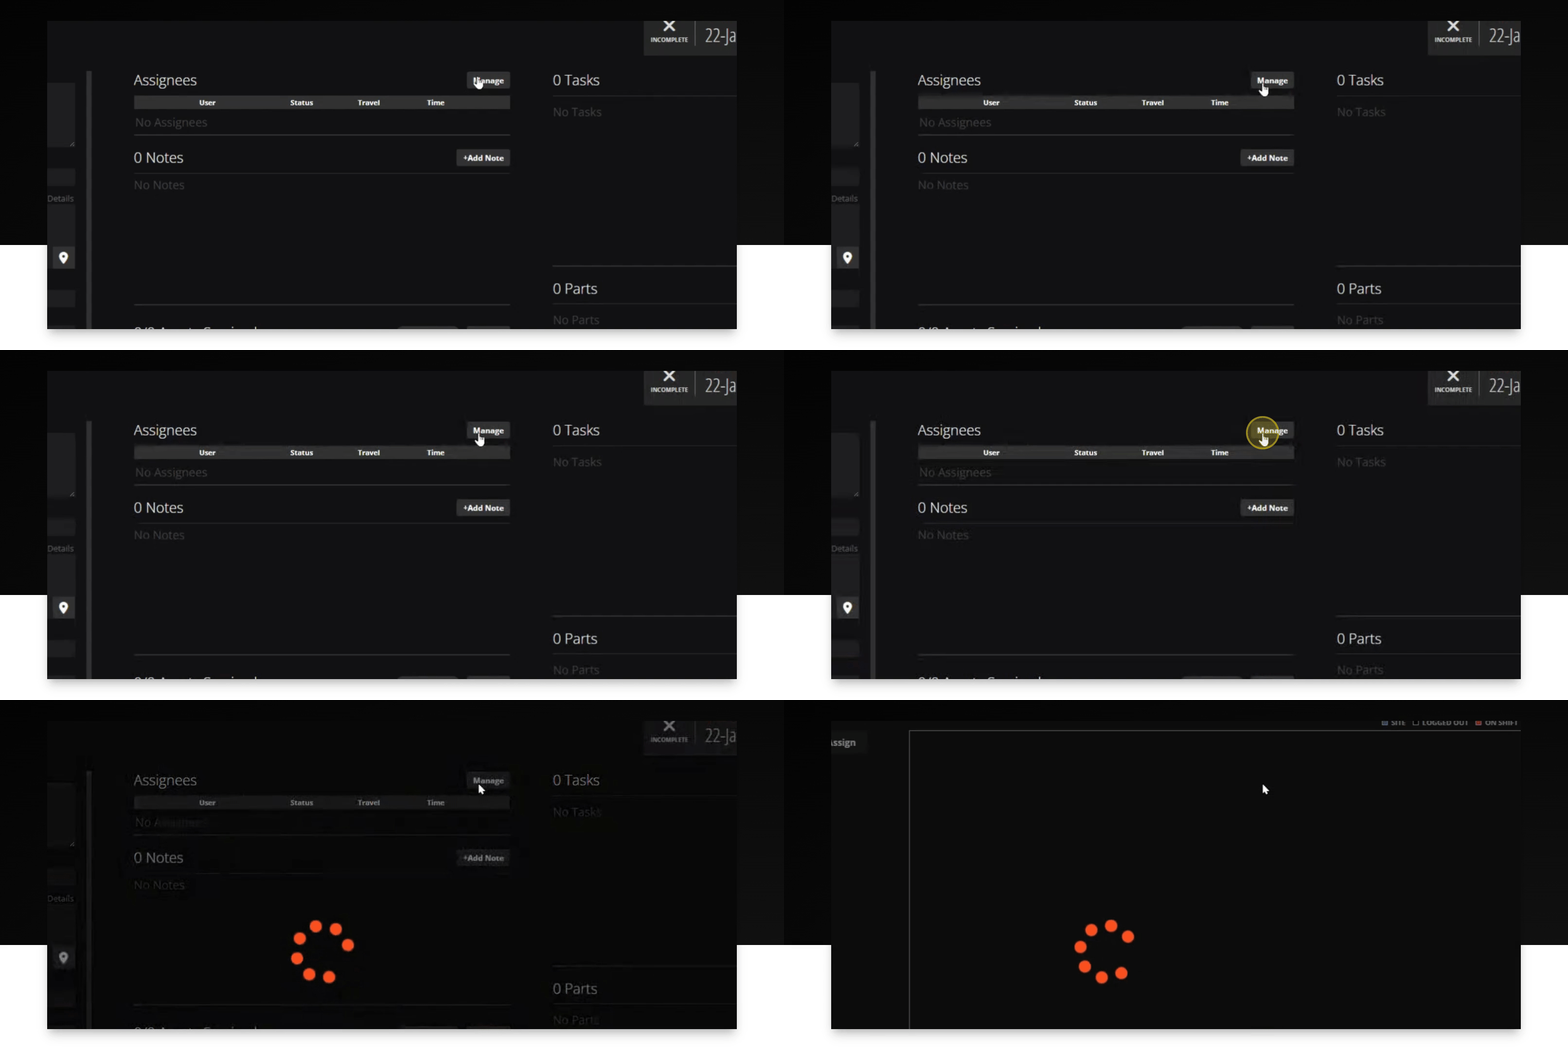
Step 7: Manage Assignees
Go to Assignees and click the Manage button.
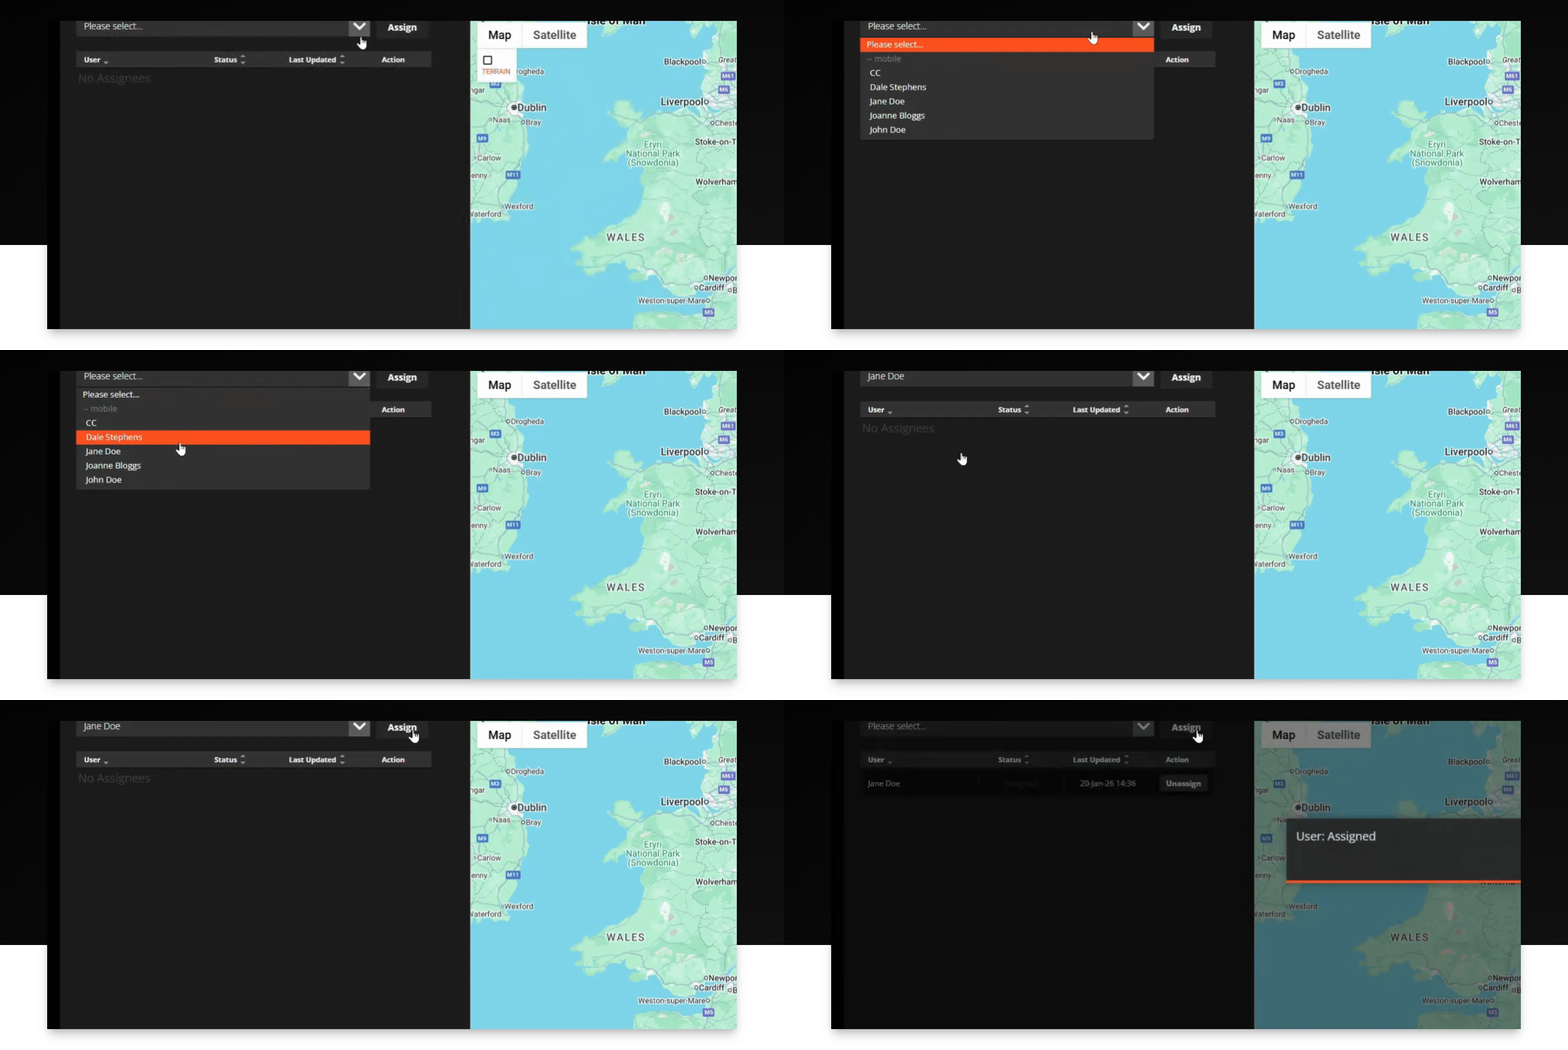
Step 8: Assign Job
Select an assignee from the drop down list and click assign.
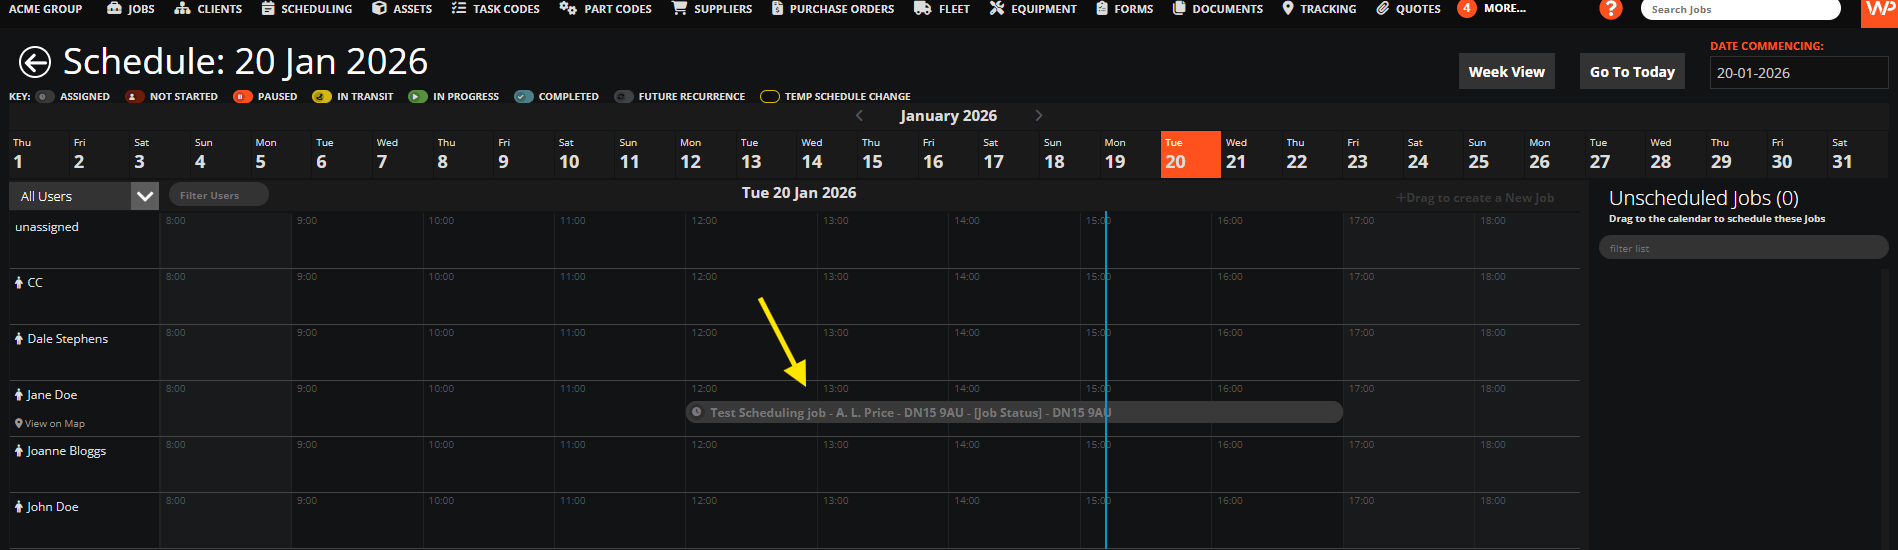
Step 9: Check Schedule
Go to the Scheduling tab to view the job schedule.
Scheduling an Existing Job using the schedule.
If you already have a job created with an SLA but it doesn’t have a scheduled start or end date, you can easily assign one from the Scheduling tab.
Here’s how:
Go to the Scheduling tab
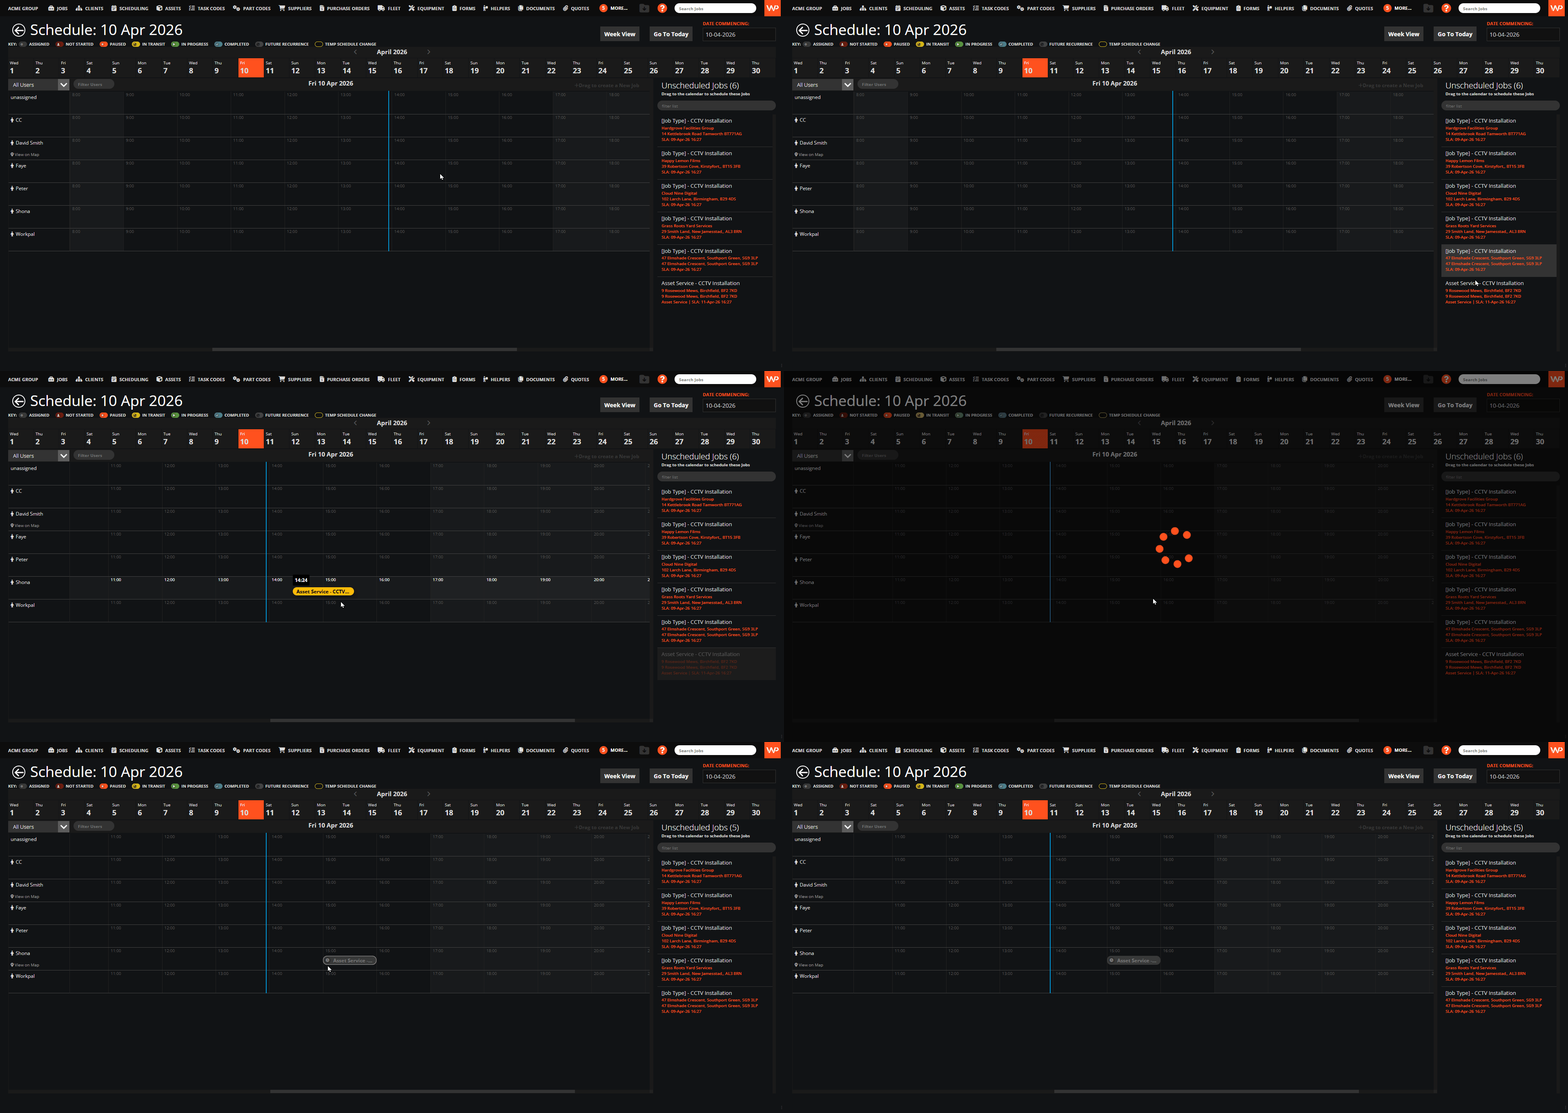
Find your job in the Unscheduled column
Drag and drop it onto your chosen date, time, and user
The Unscheduled column is automatically sorted by RCD/SLA, so higher priority jobs appear first, making it easier to decide what to schedule next.
This view also gives you a clear, all-in-one overview of your jobs, which is especially helpful if you prefer working from a list rather than the calendar view.
Step 1: Go to scheduling tab.
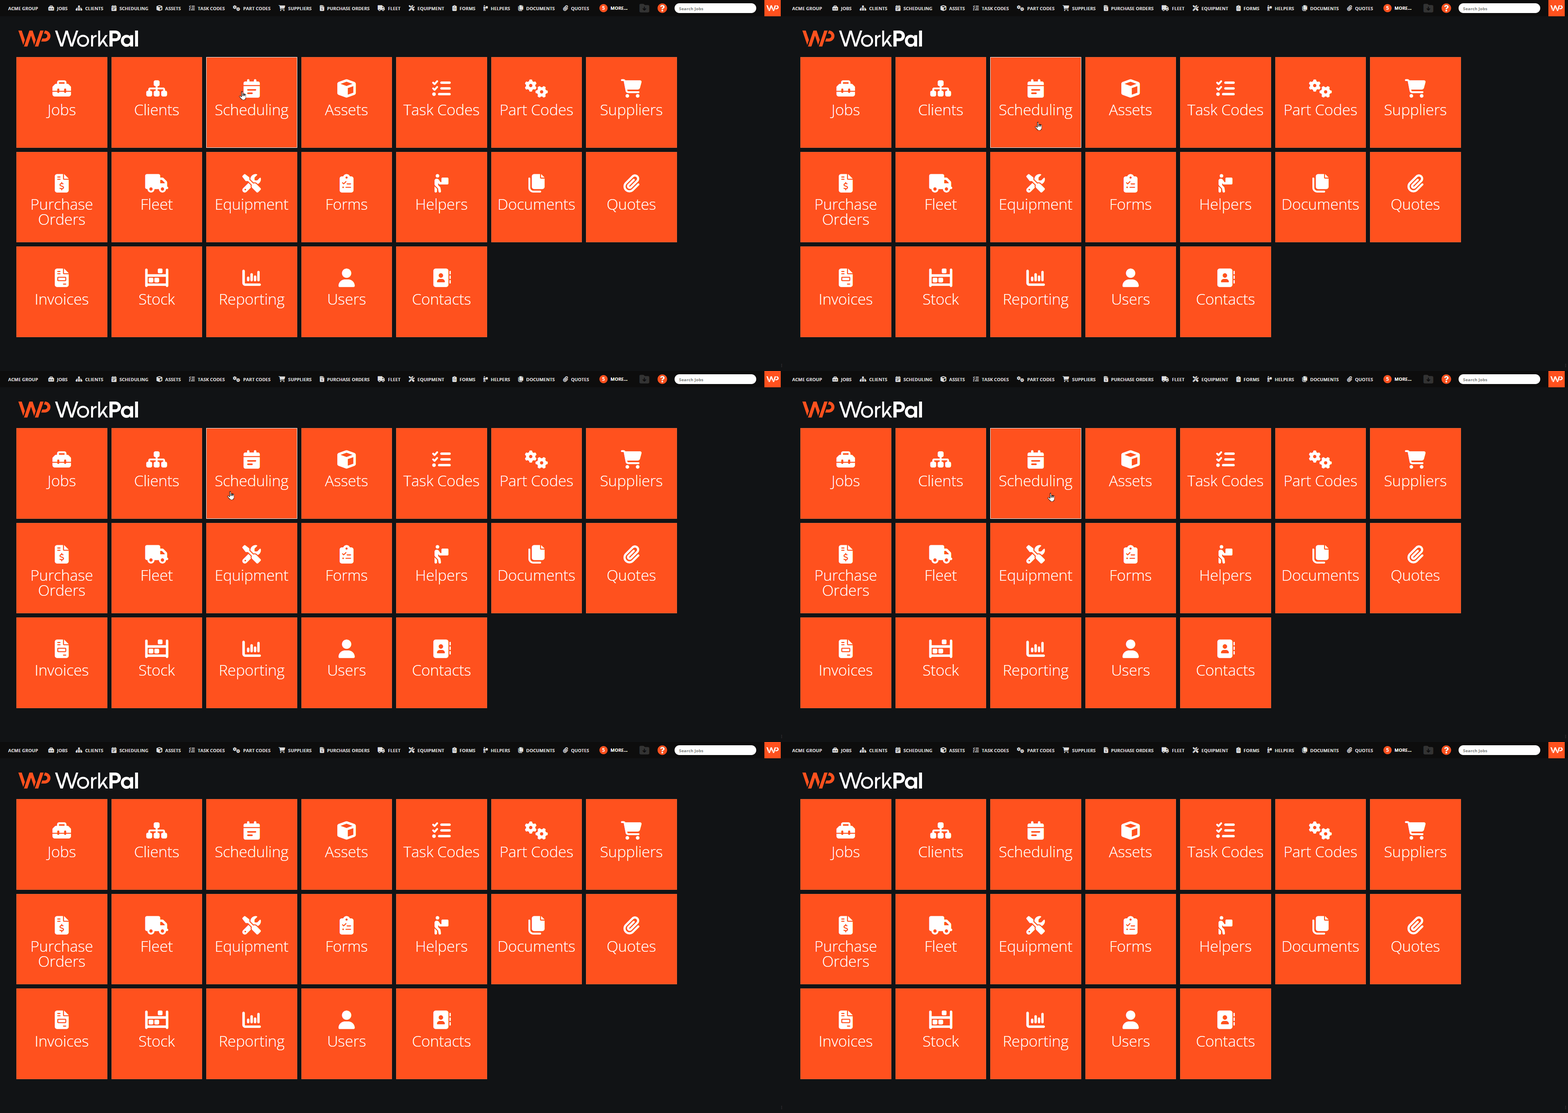
Step 2: Find your job from the unscheduled jobs list and drag it to your desired user, date and time.
Creating and scheduling a job directly from the Scheduling tab.
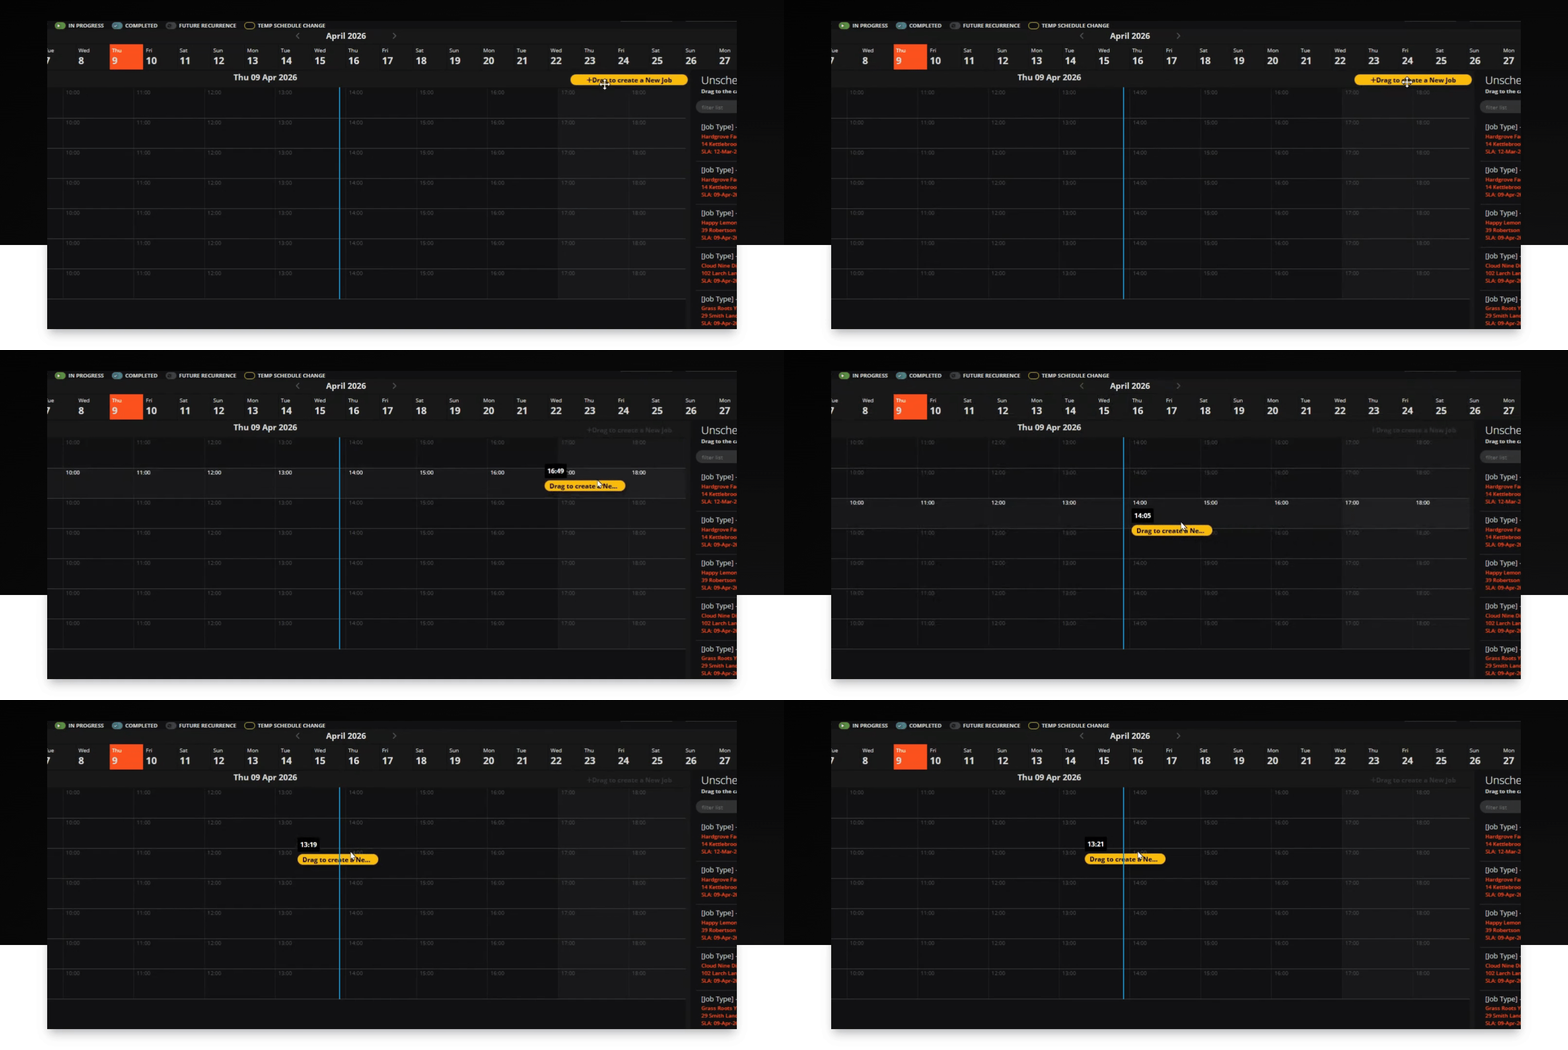
If you already know when the work needs to take place, this is often the quickest way to create and schedule a job. Instead of creating the job first and adding the schedule afterwards, you can place the job directly onto the calendar for your specified user and then fill in the details.
Simply select the date and time you want the job to take place, enter the job information, and the job will be added straight into the schedule.
Step 1: Click the scheduling tab

Step 2: Click and Drag the "drag to create new job" button to your desired user, date and time.
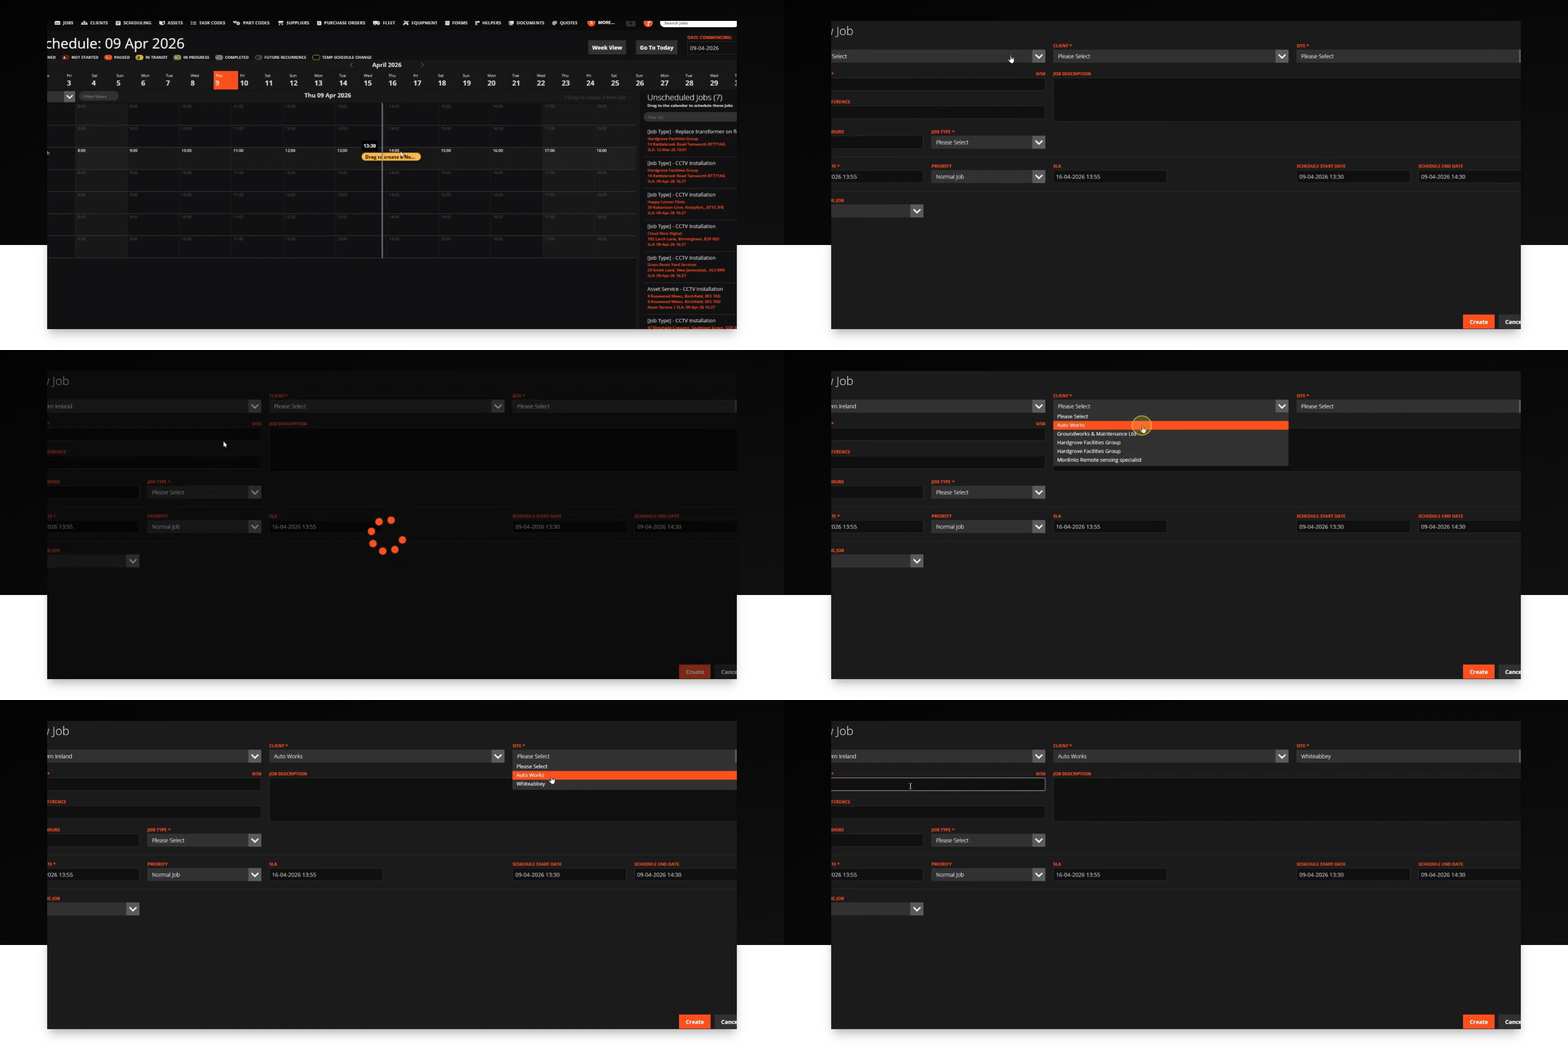
Step 3: Fill in the job details.
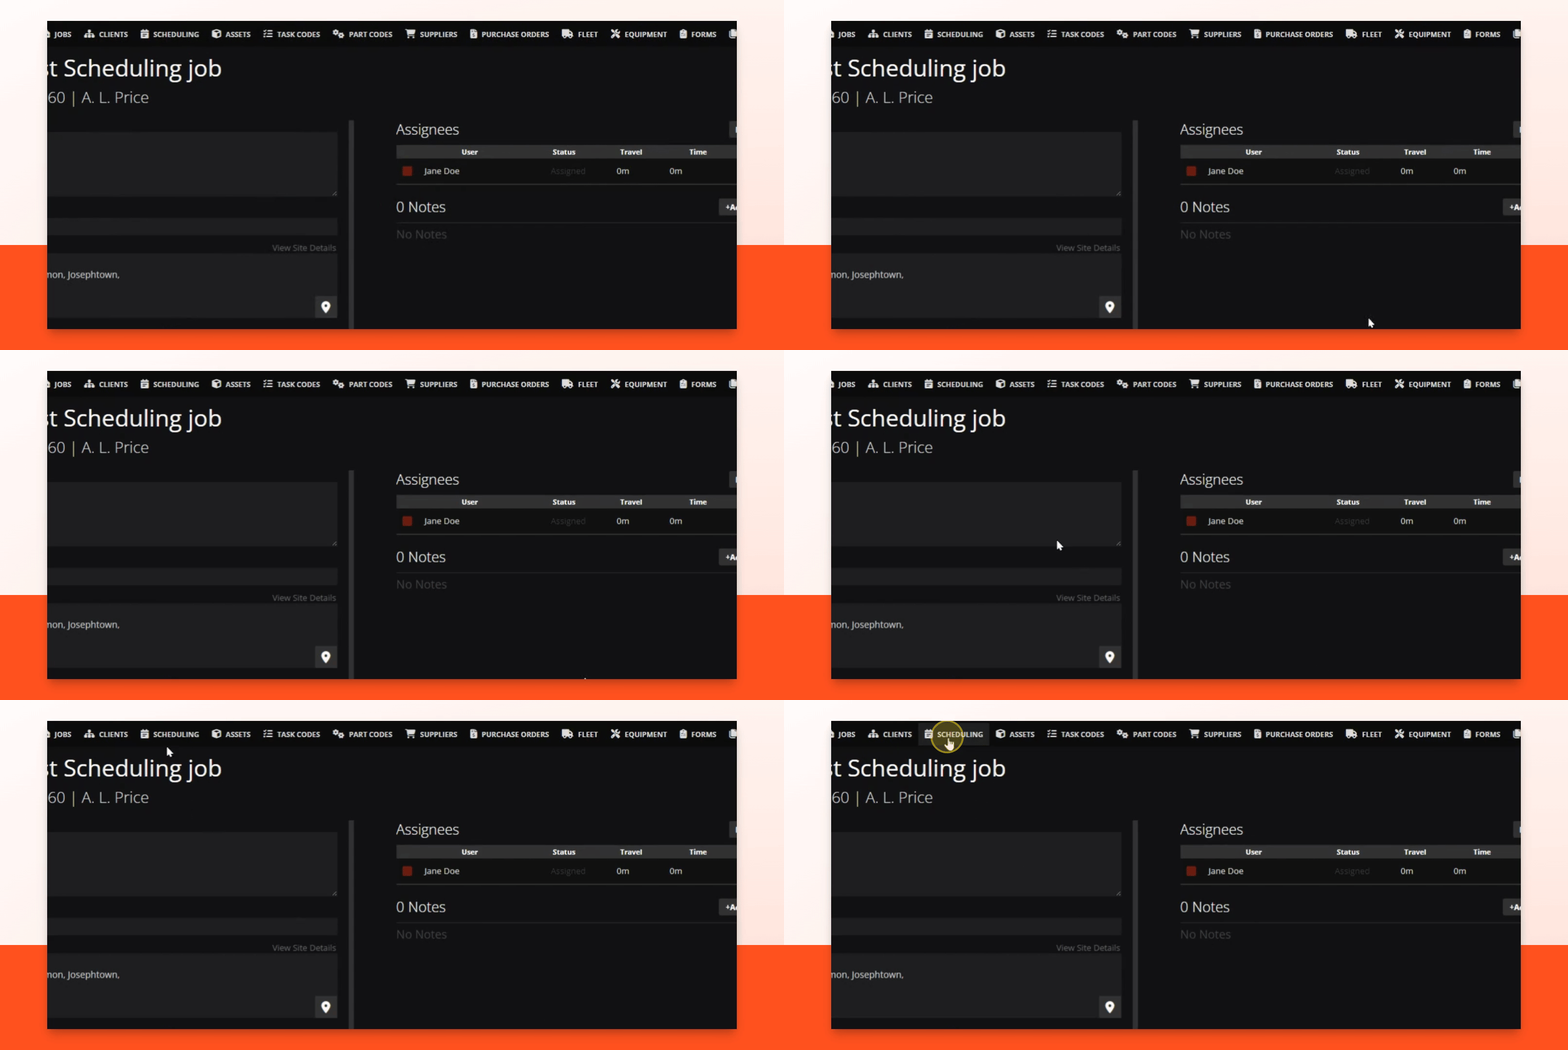
Step 4: Check Schedule
Go to the Scheduling tab to view the job schedule.
Step 5: Confirm Job
You can see your job scheduled for the selected day!
Top tip! You can also configure your job list to show scheduled start dates by following our job list guide
Need a Hand?
If you're experiencing any issues with the different ways of Scheduling Jobs in WorkPal, our Support Team is here to help.
📞 028 9344 5660
📧 support@workpal.app
🌐 www.workpal.app