

On the WorkPal portal home screen, select Jobs.

You can also select JOBS at the top of the screen.

To Add a new Job, select +Add Job at the top right corner of the screen:

Fill in the details of the job (Job title, Client Reference, etc.) and at the right of the screen fill in the Schedule Start Date and the Schedule End Date:
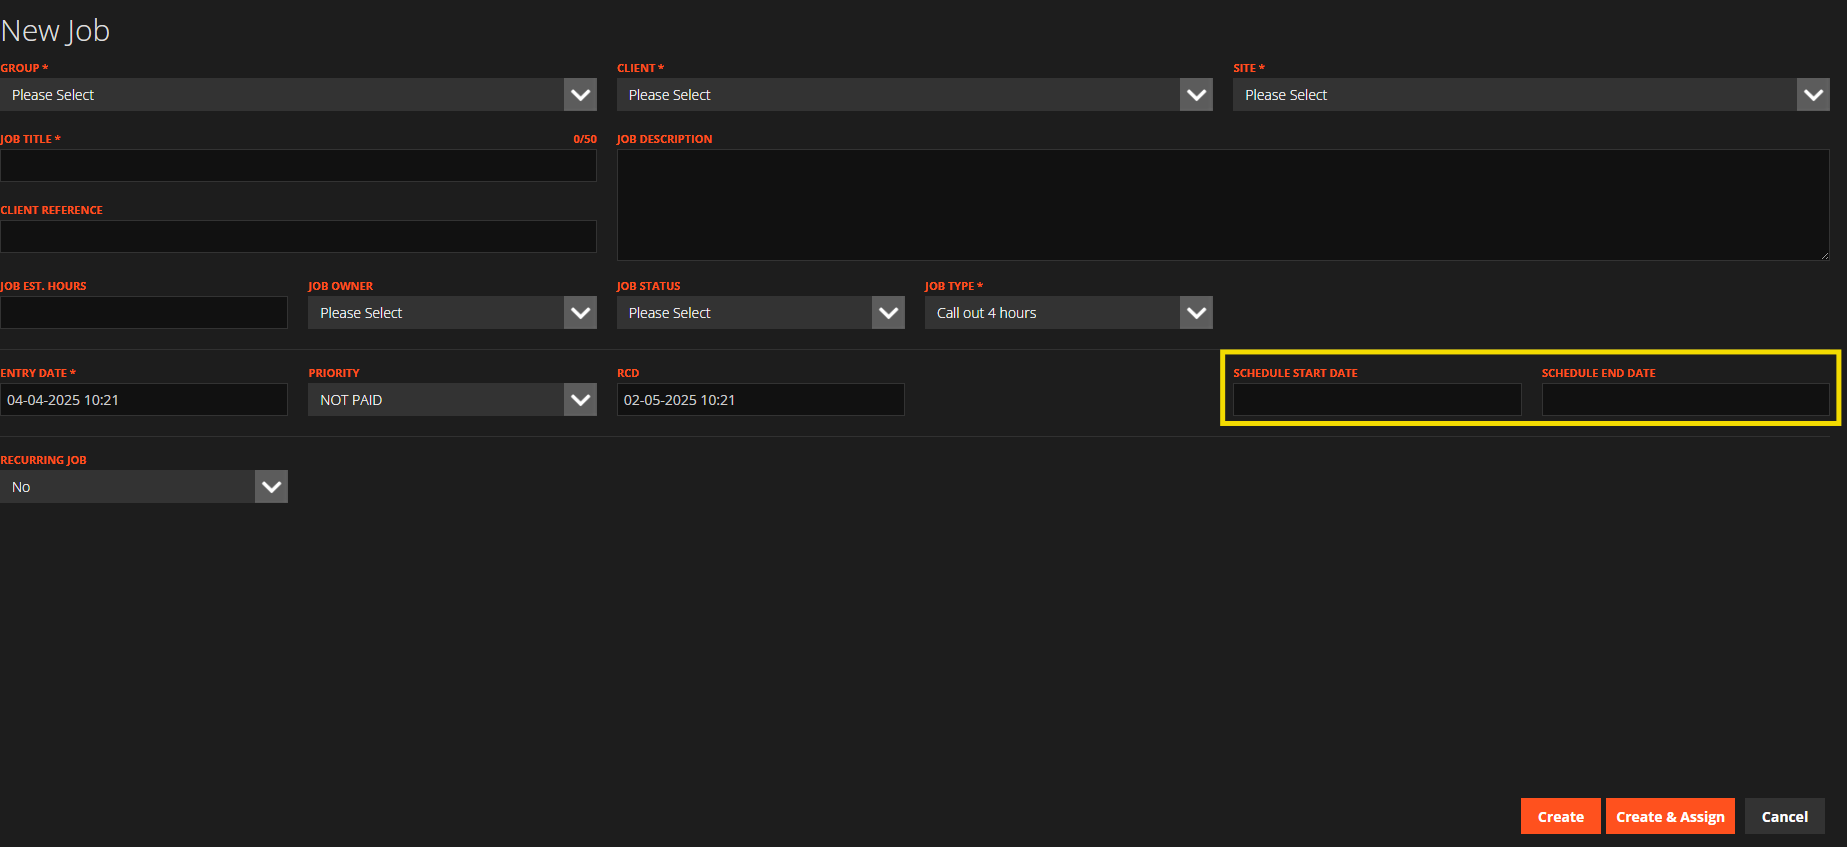
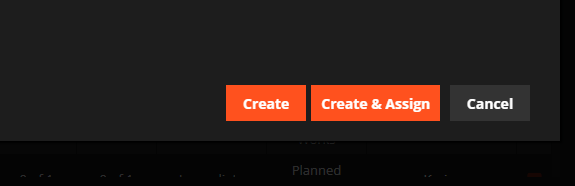
After you have filled this in you will have the option to select Create or Create & Assign:
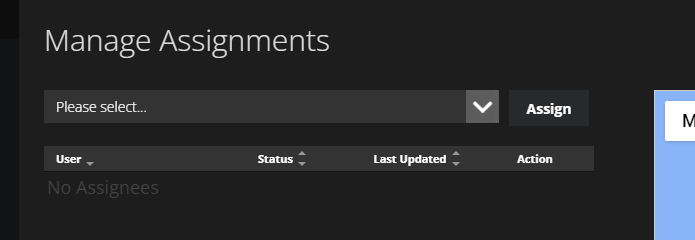
If you select Create & Assign then you will go to another screen and you will have to assign this job to one of your mobile users from the dropdown menu:
Select the Scheduling Tab from the WorkPal home screen:
You can also select SCHEDULING from the top menu:

At the top of the page you will have a colour code key as seen below:

If you have selected Create & Assign when creating a job then this job will automatically be assigned to one of your mobile users at the corresponded date and time.
If you have yet to assign a job to someone then this will be shown here. You can drag and drop these jobs to your selected mobile user:

At the top right corner of the screen you will also have the option to switch the Schedule view to a Weekly View:

You also have the ability to "sort" your job list on the mobile app either by the "RCD" or the "attend by date" (start date). You can do this by going to Preferences>general settings>Mobile settings>Sort Mobile Job List By:

Pro Tip! You can hold the "shift" key on the keyboard and drag a job from the schedule to another use to also assign them to a job! See the screen recording below!
Need a Hand?
If you're experiencing any issues with Scheduling in WorkPal, our Support Team is here to help.
📞 028 9344 5660
📧 support@workpal.app
🌐 www.workpal.app