

In the WorkPal portal click on the Users tile. You can also use the Users tab in the top menu.
To edit a user, select which type of user you would like to edit. Select your type using the tabs shown below. Make sure the tick-box is ticked beside 'Show Inactive Users'.
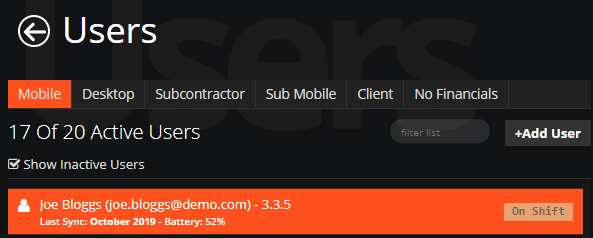
Select a User then click the Edit User button at the bottom left of your screen.

In the edit user page you can set users to inactive. Click the dropdown box under User Status and select Inactive.
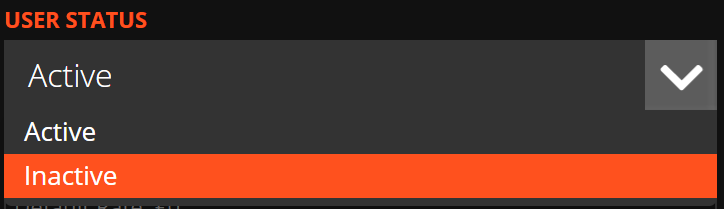
Note that changing the user status to inactive will log the user out and unassign them from any open jobs. To save, click Update.
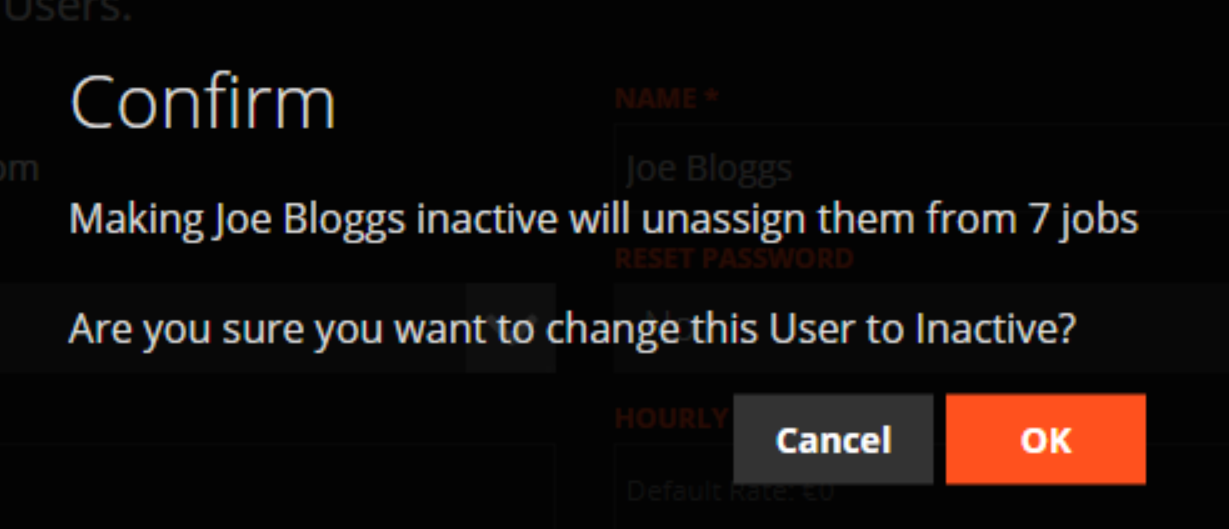
Setting users to Inactive will free up licence space on your account. Inactive users will appear greyed out and display an Inactive status.
If an employee leaves the company, you can mark them as inactive—this will retain all their historical records (e.g. jobs, forms) within your WorkPal system. Should the employee return, you can easily reactivate their profile by following the steps outlined above.
Important: Do not rename existing users for use by different employees. Instead, always create a new user profile with the correct personal details.
If you prefer not to display inactive users in the list, you can hide them by unticking the Show Inactive Users box.
Need a Hand?
If you're experiencing any issues removing, replacing, deactivating, or transferring access from a User in WorkPal, our Support Team is here to help.
📞 028 9344 5660
📧 support@workpal.app
🌐 www.workpal.app