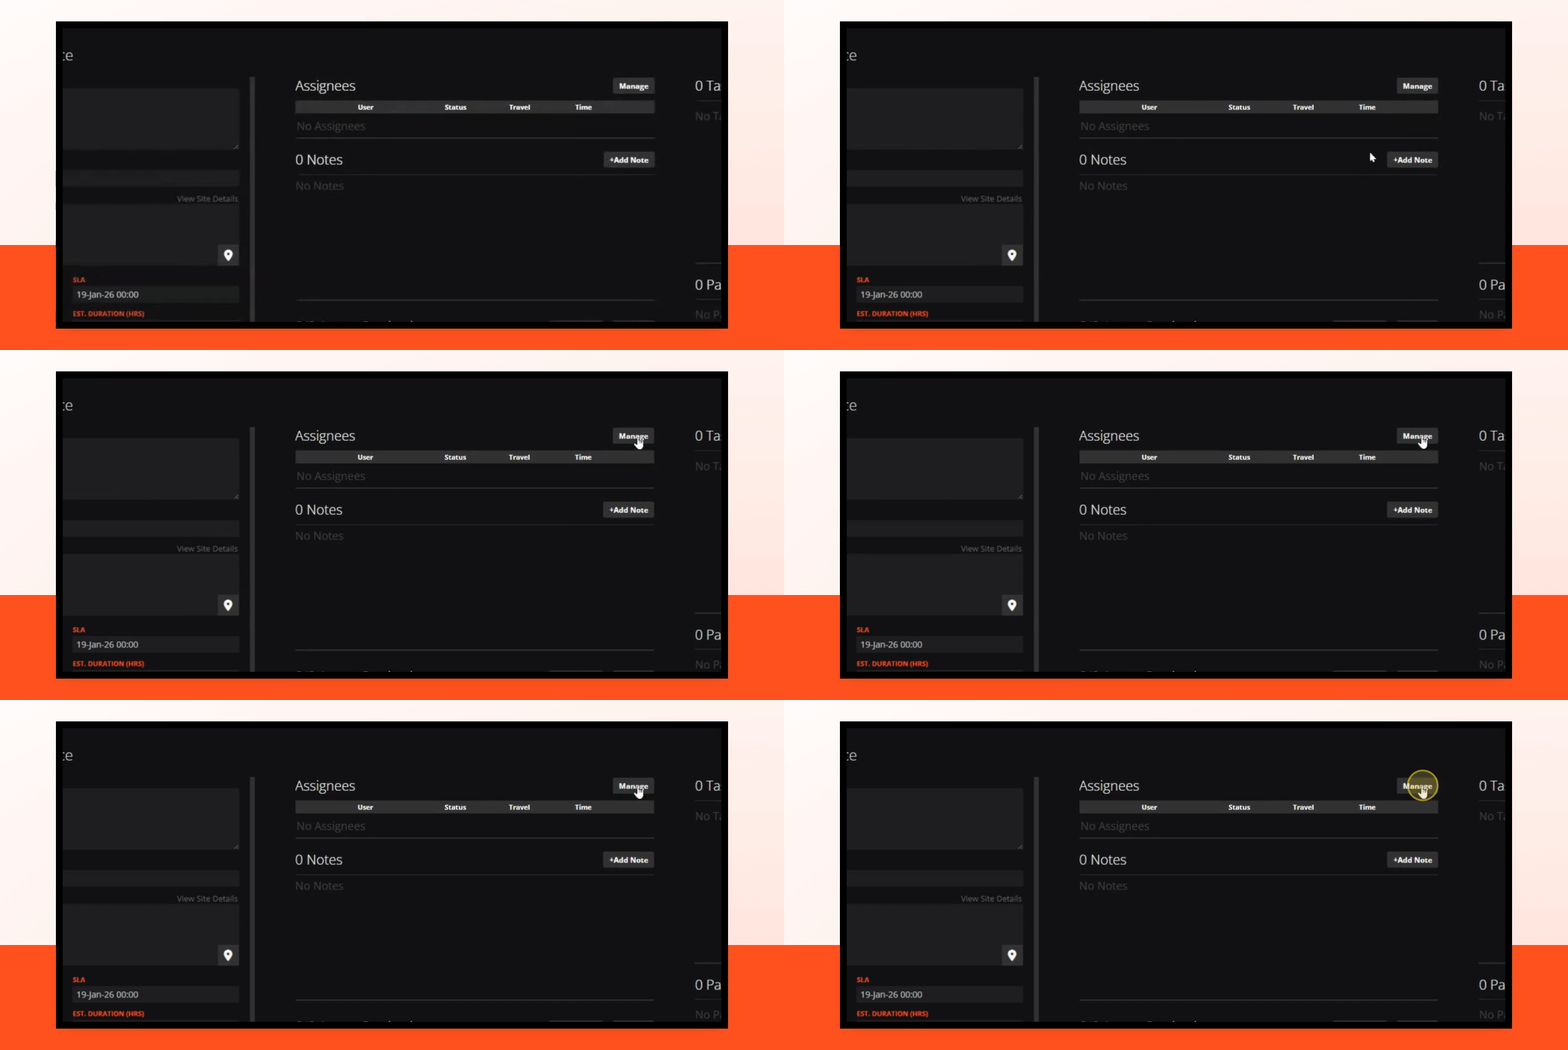
Below are the individual steps for creating a job on the desktop.
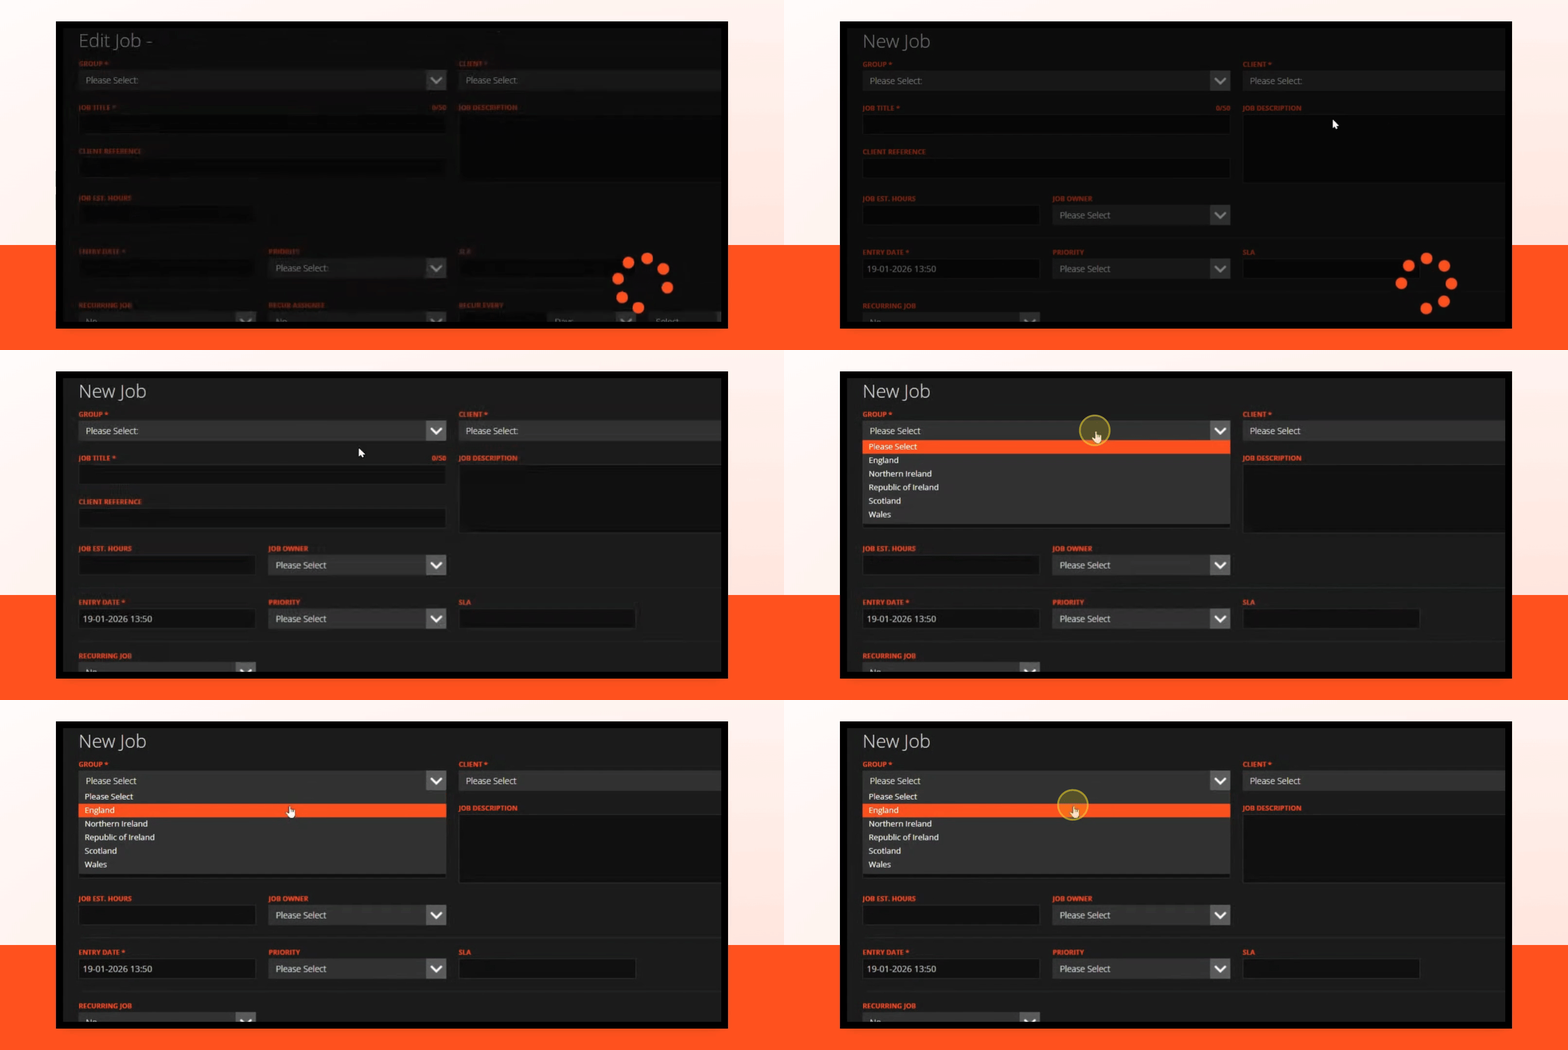
Step 1: Select Group
Select the group that the job will be associated with
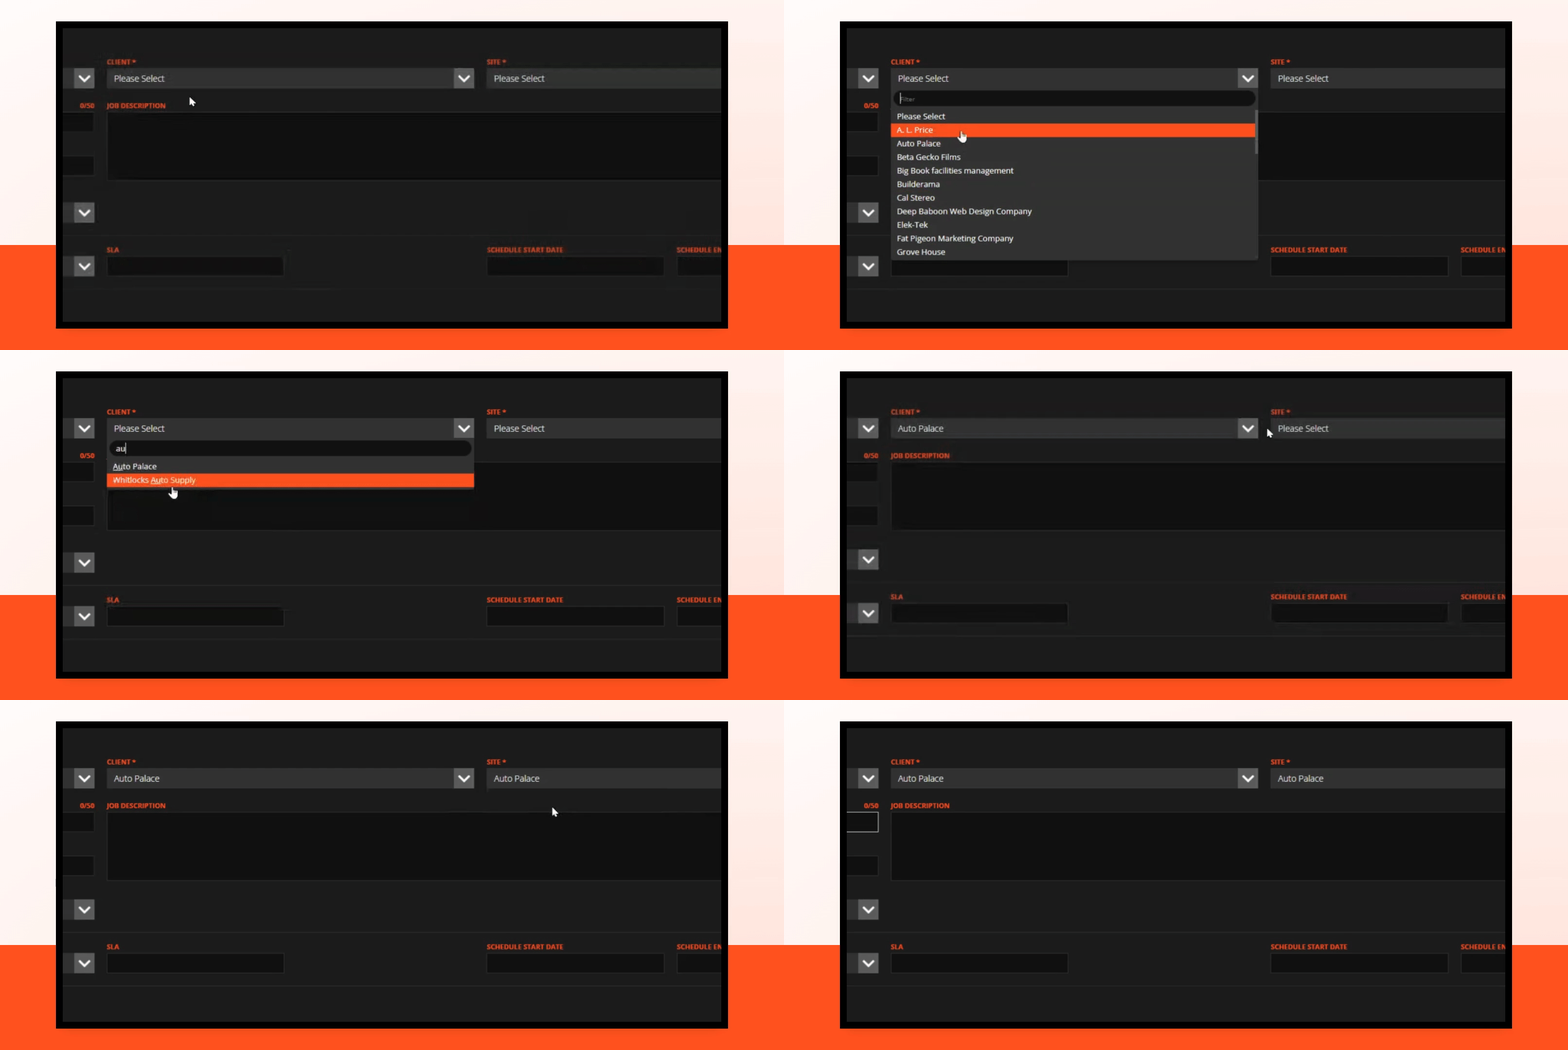
Step 2: Choose Client and Site
Select the client and site where the job will be performed.
Step 3: Enter Job Title
Fill in your job title in the designated field.
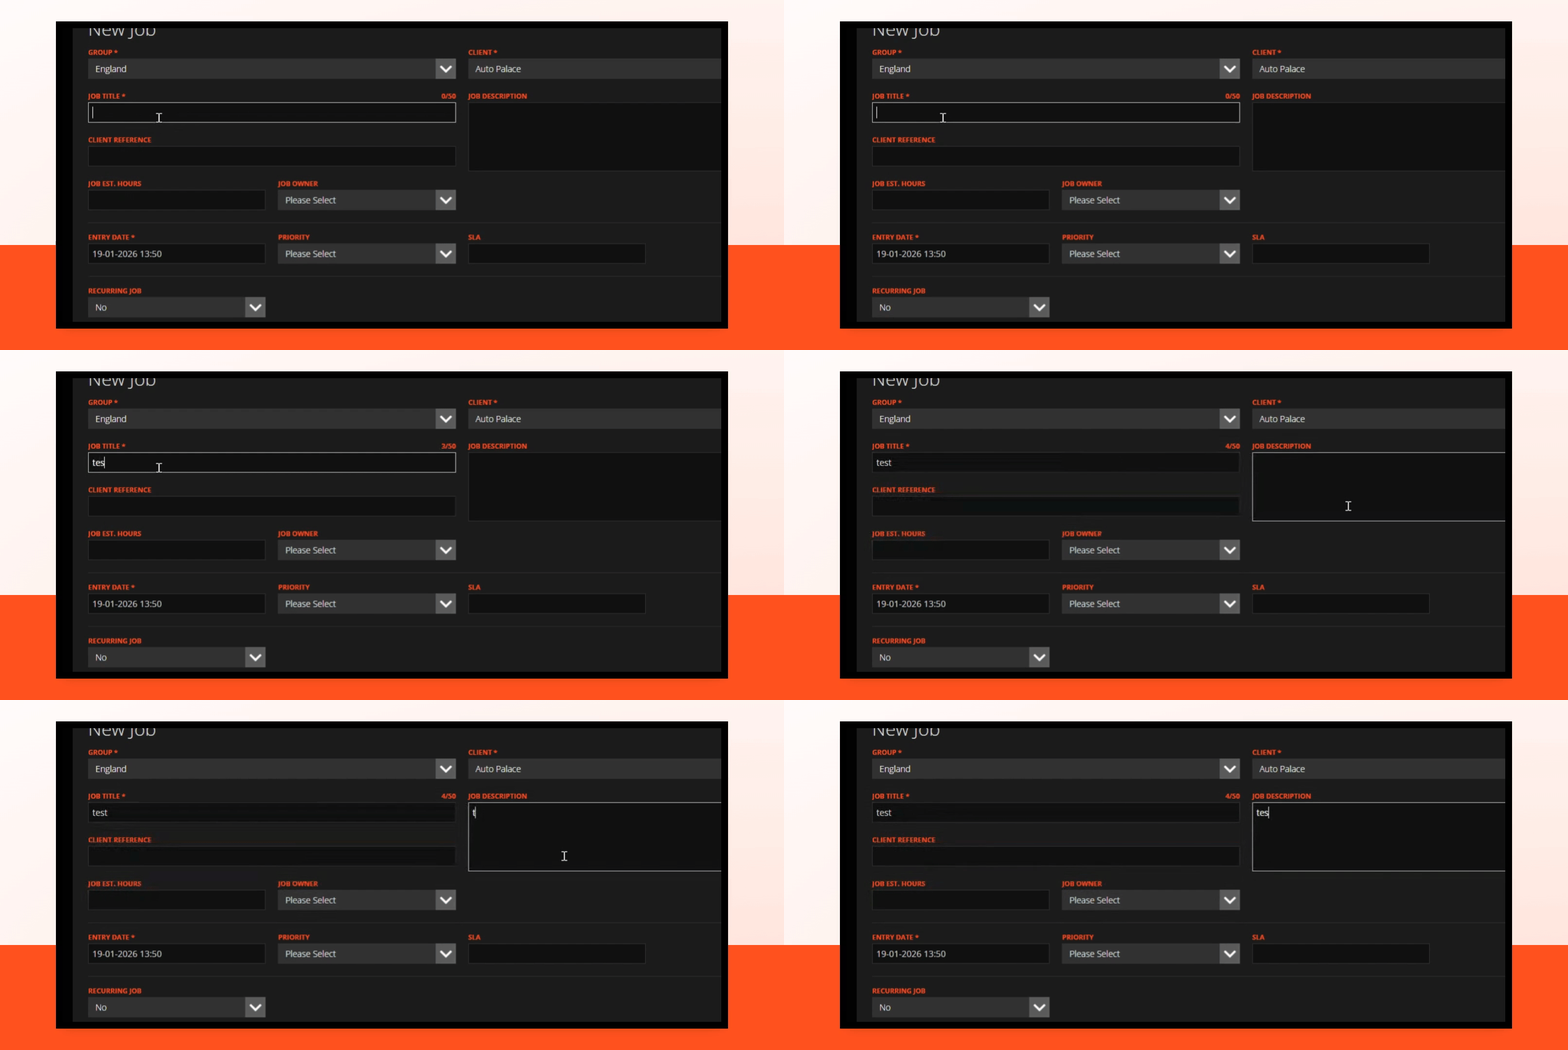
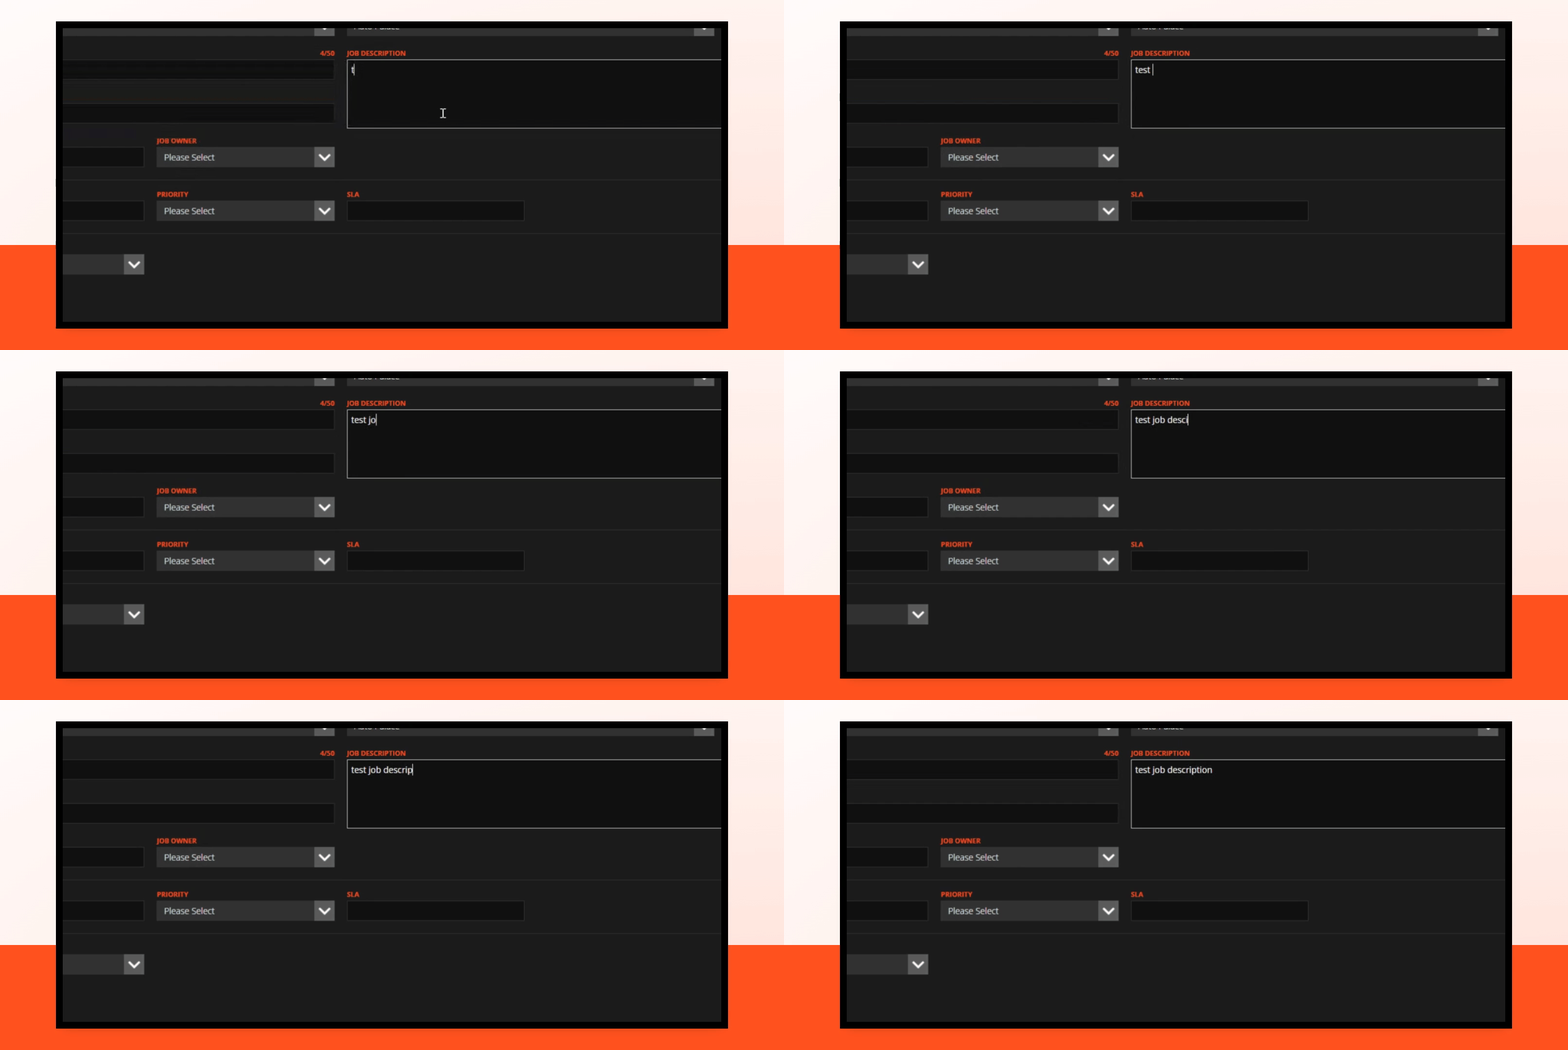
Step 4: Add Job Description
Fill in the job description to provide more details about the job.
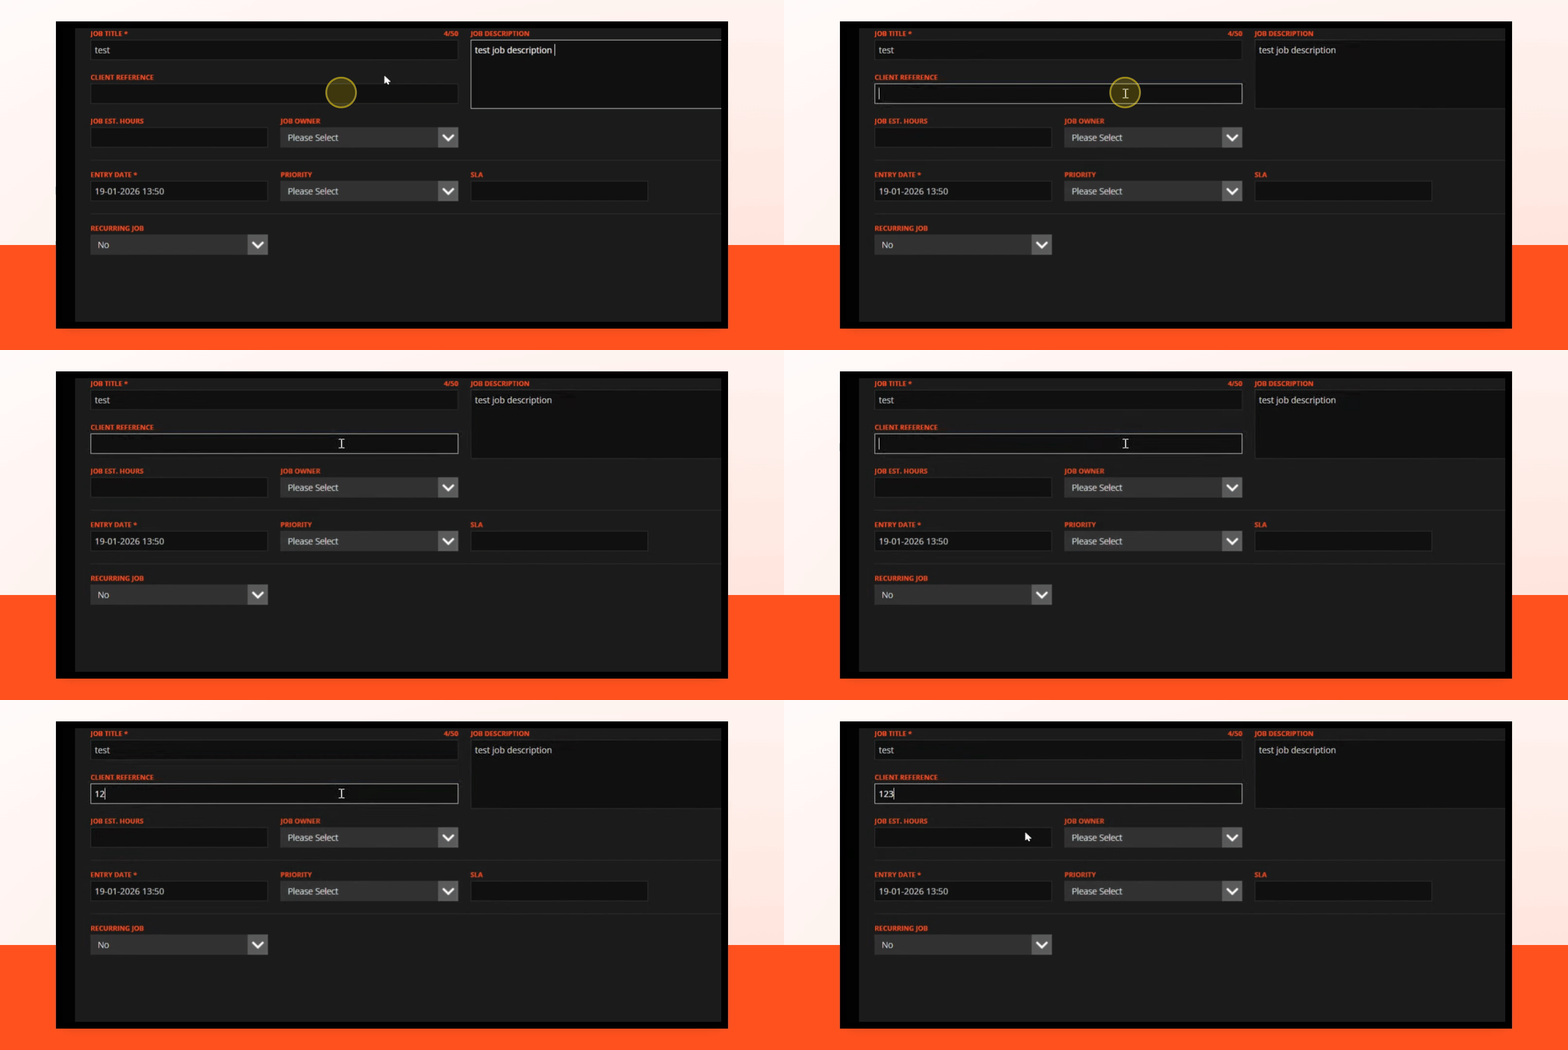
Step 5: Input Client Reference
Fill in the client reference to identify the client associated with the job.
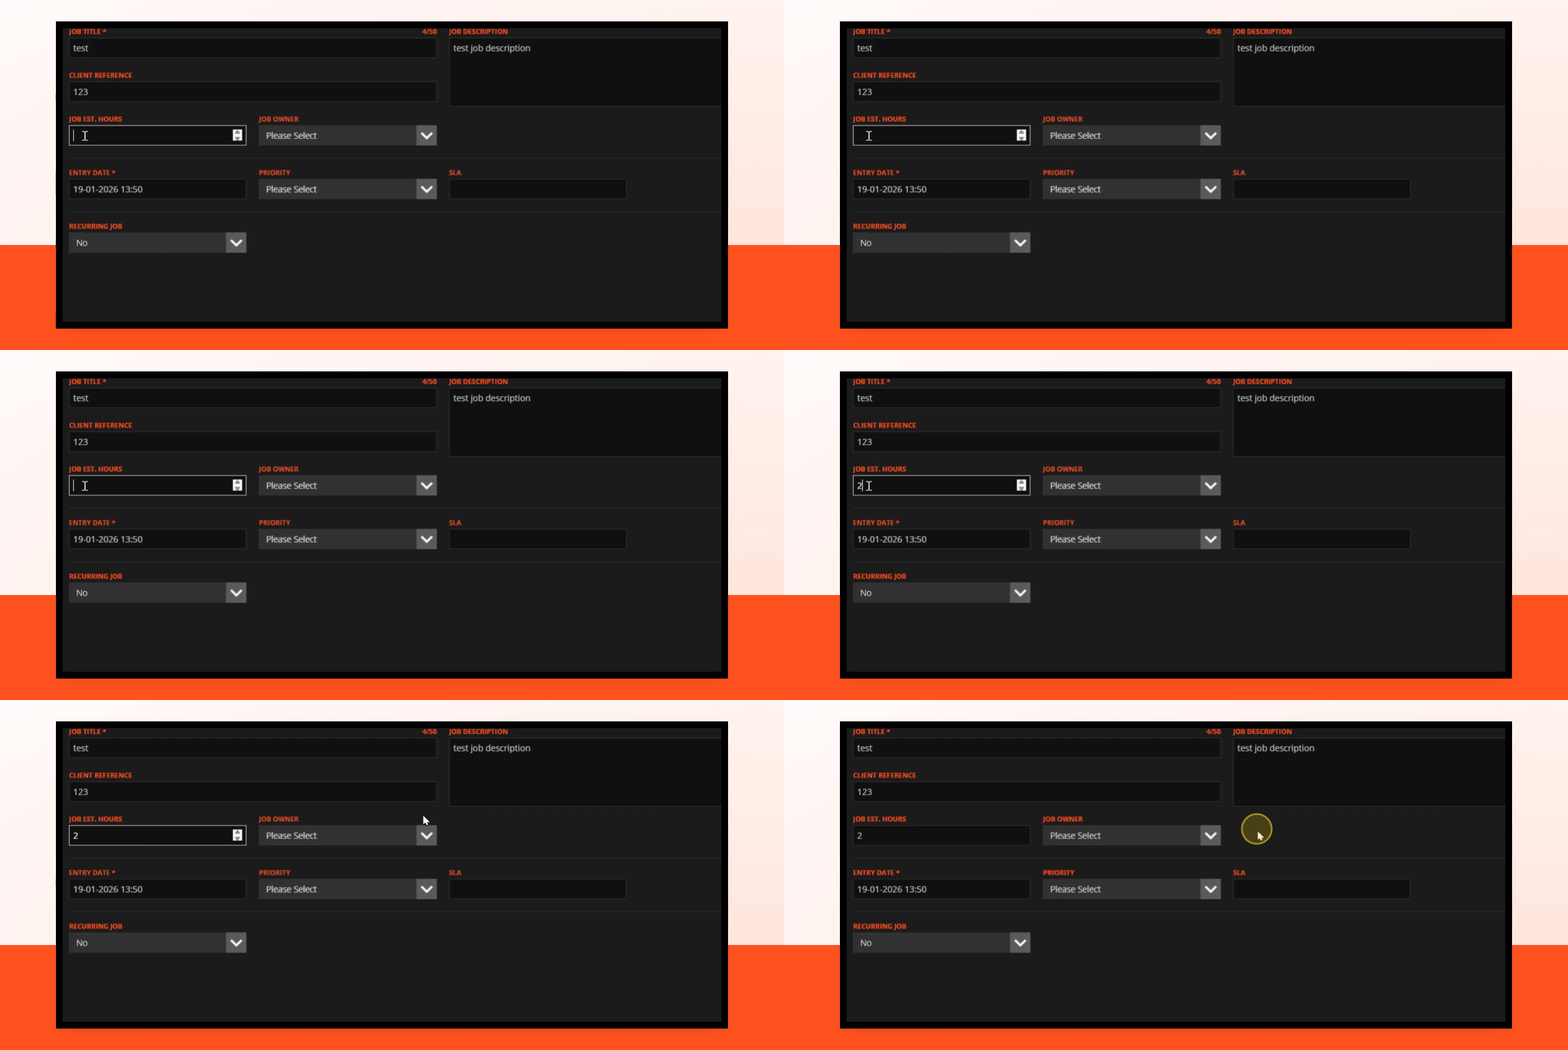
Step 6: Estimate Job Hours
Fill in the estimated hours required to complete the job.
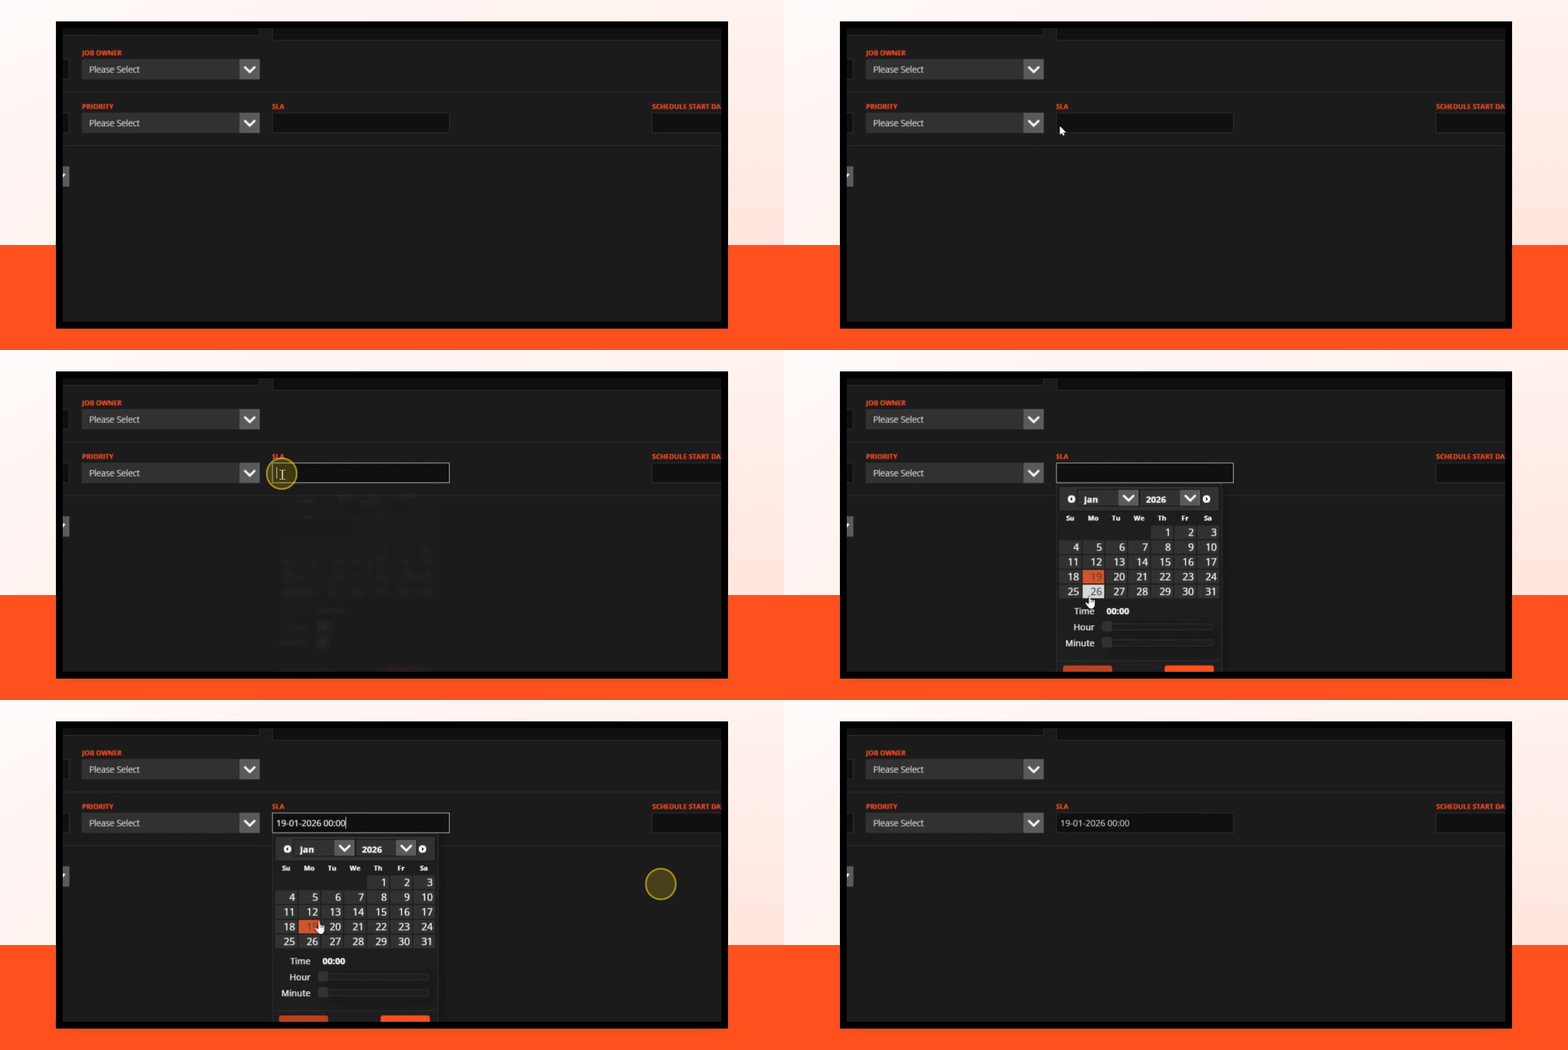
Step 7: Choose SLA
Select your Service Level Agreement (SLA) for the job.
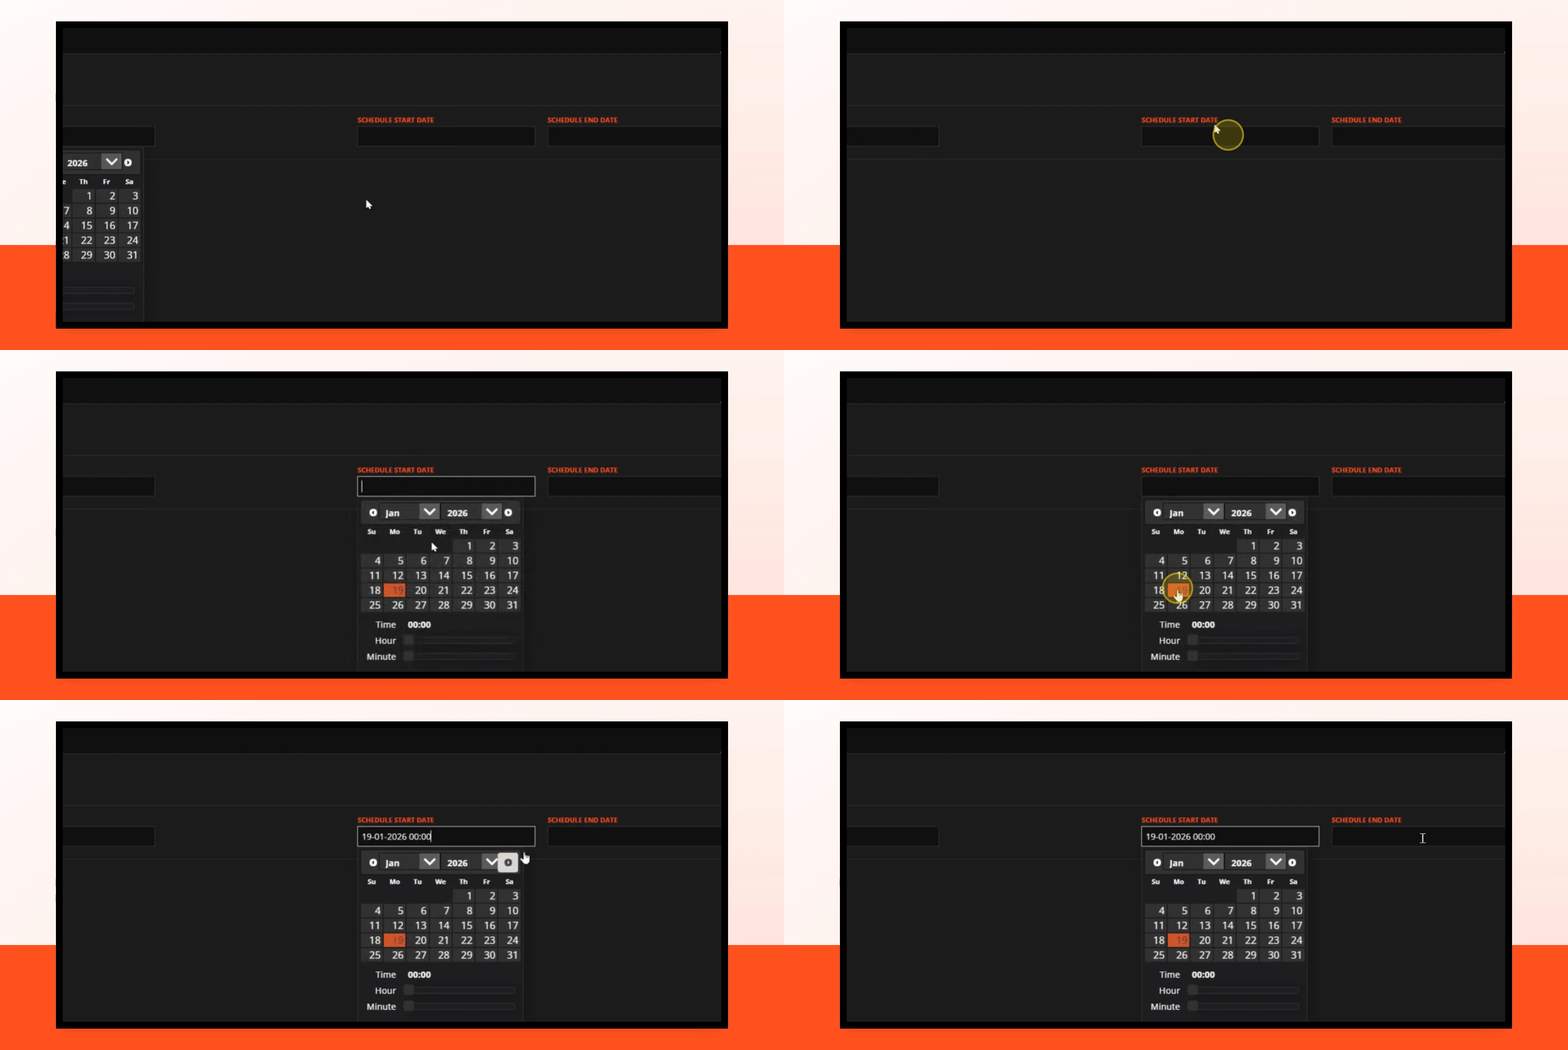
Step 8: Select Start Date
Choose the scheduled start date for the job.
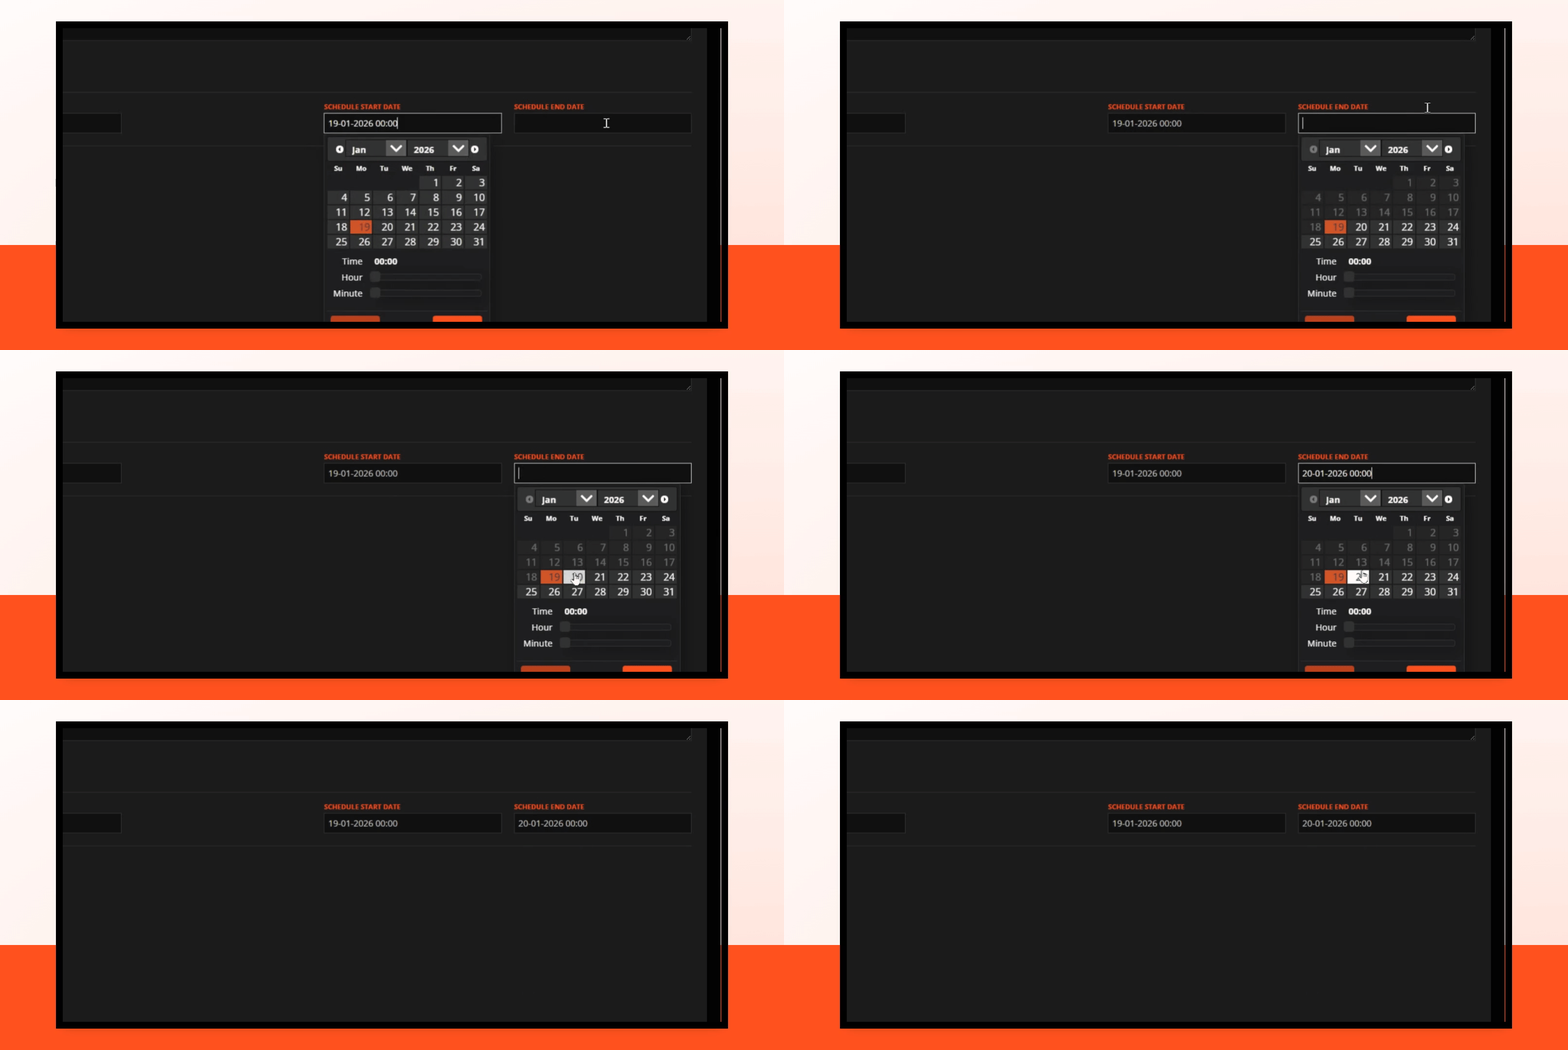
Step 9: Choose End Date
Select the scheduled end date for the job.
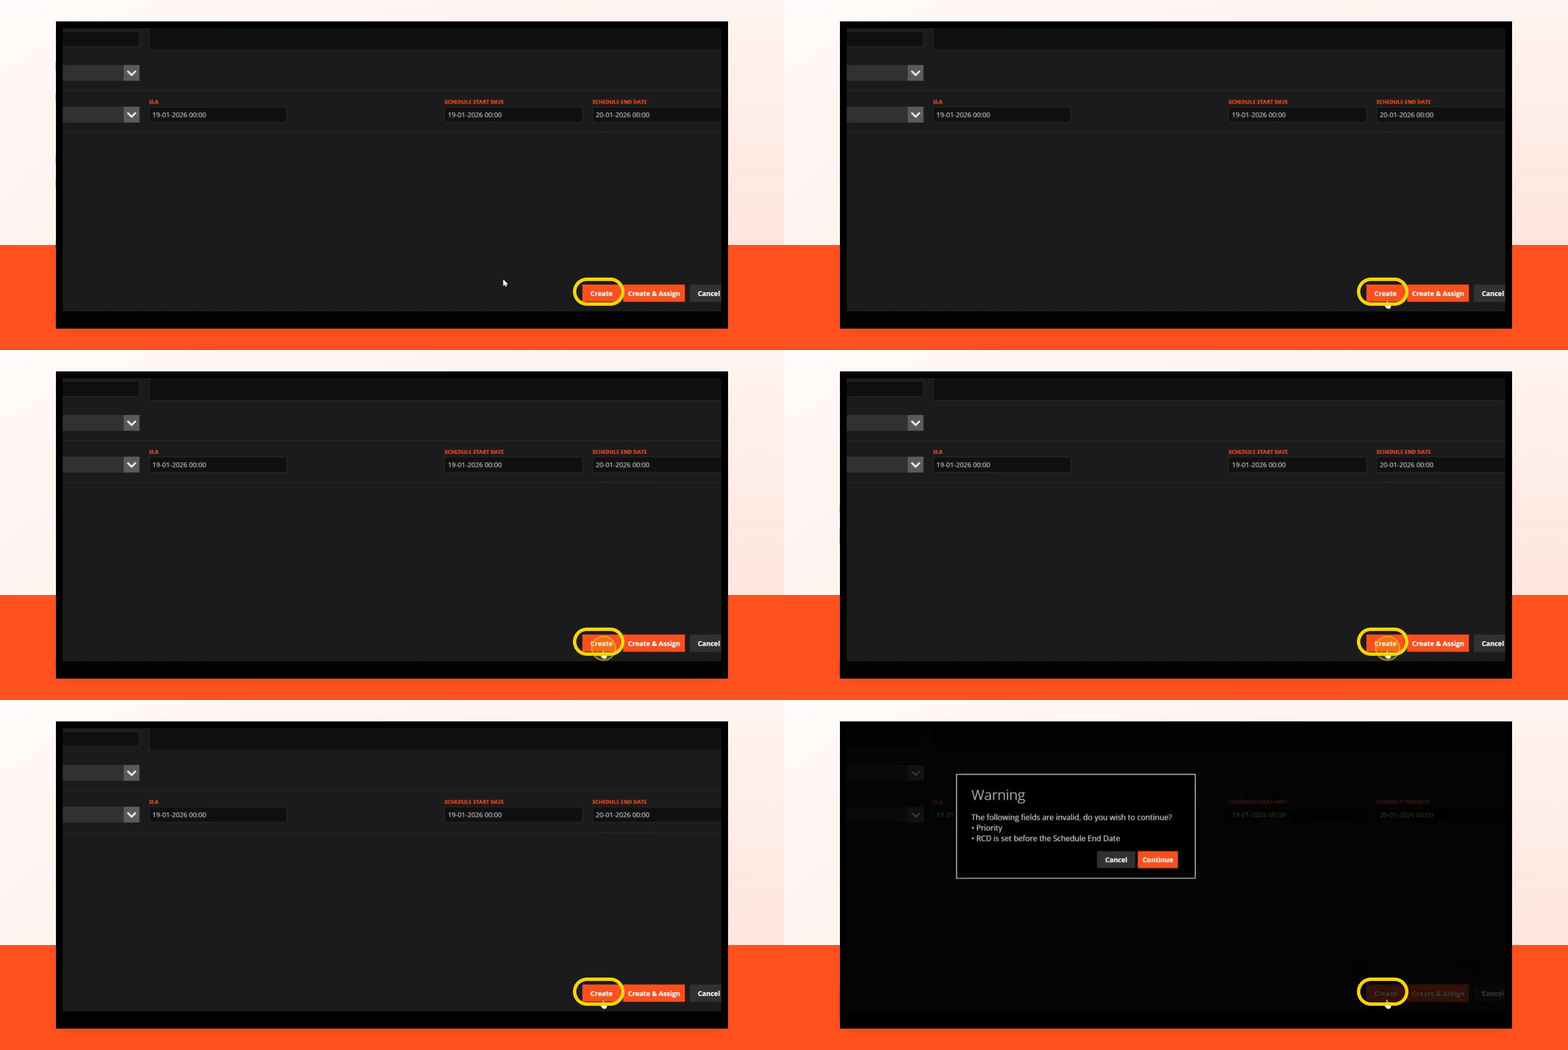
Step 10: Create Job
Click the Create button to create the job.
Step 11: Manage Assignee
In the Assignee section, click Manage to choose a user to assign the job to, Select the assignee for the job and then click Done.